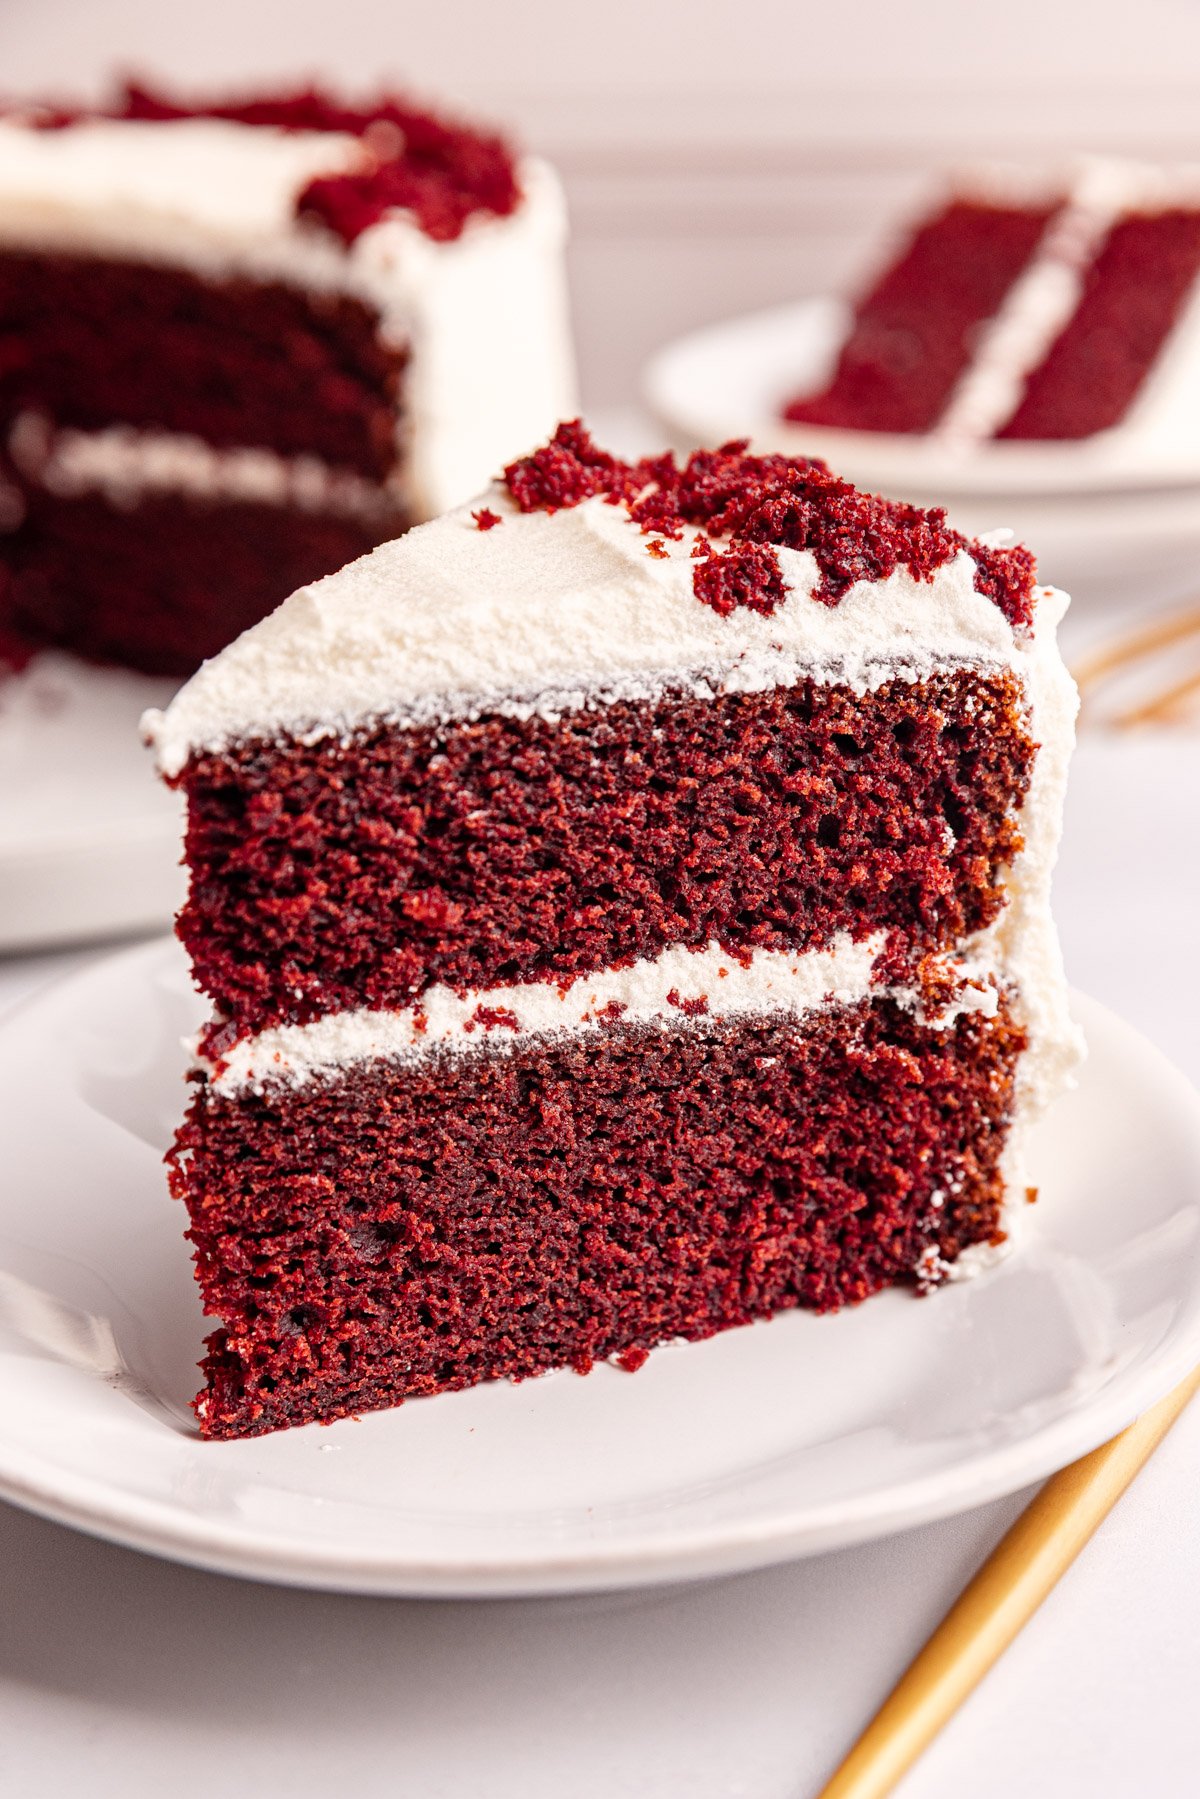
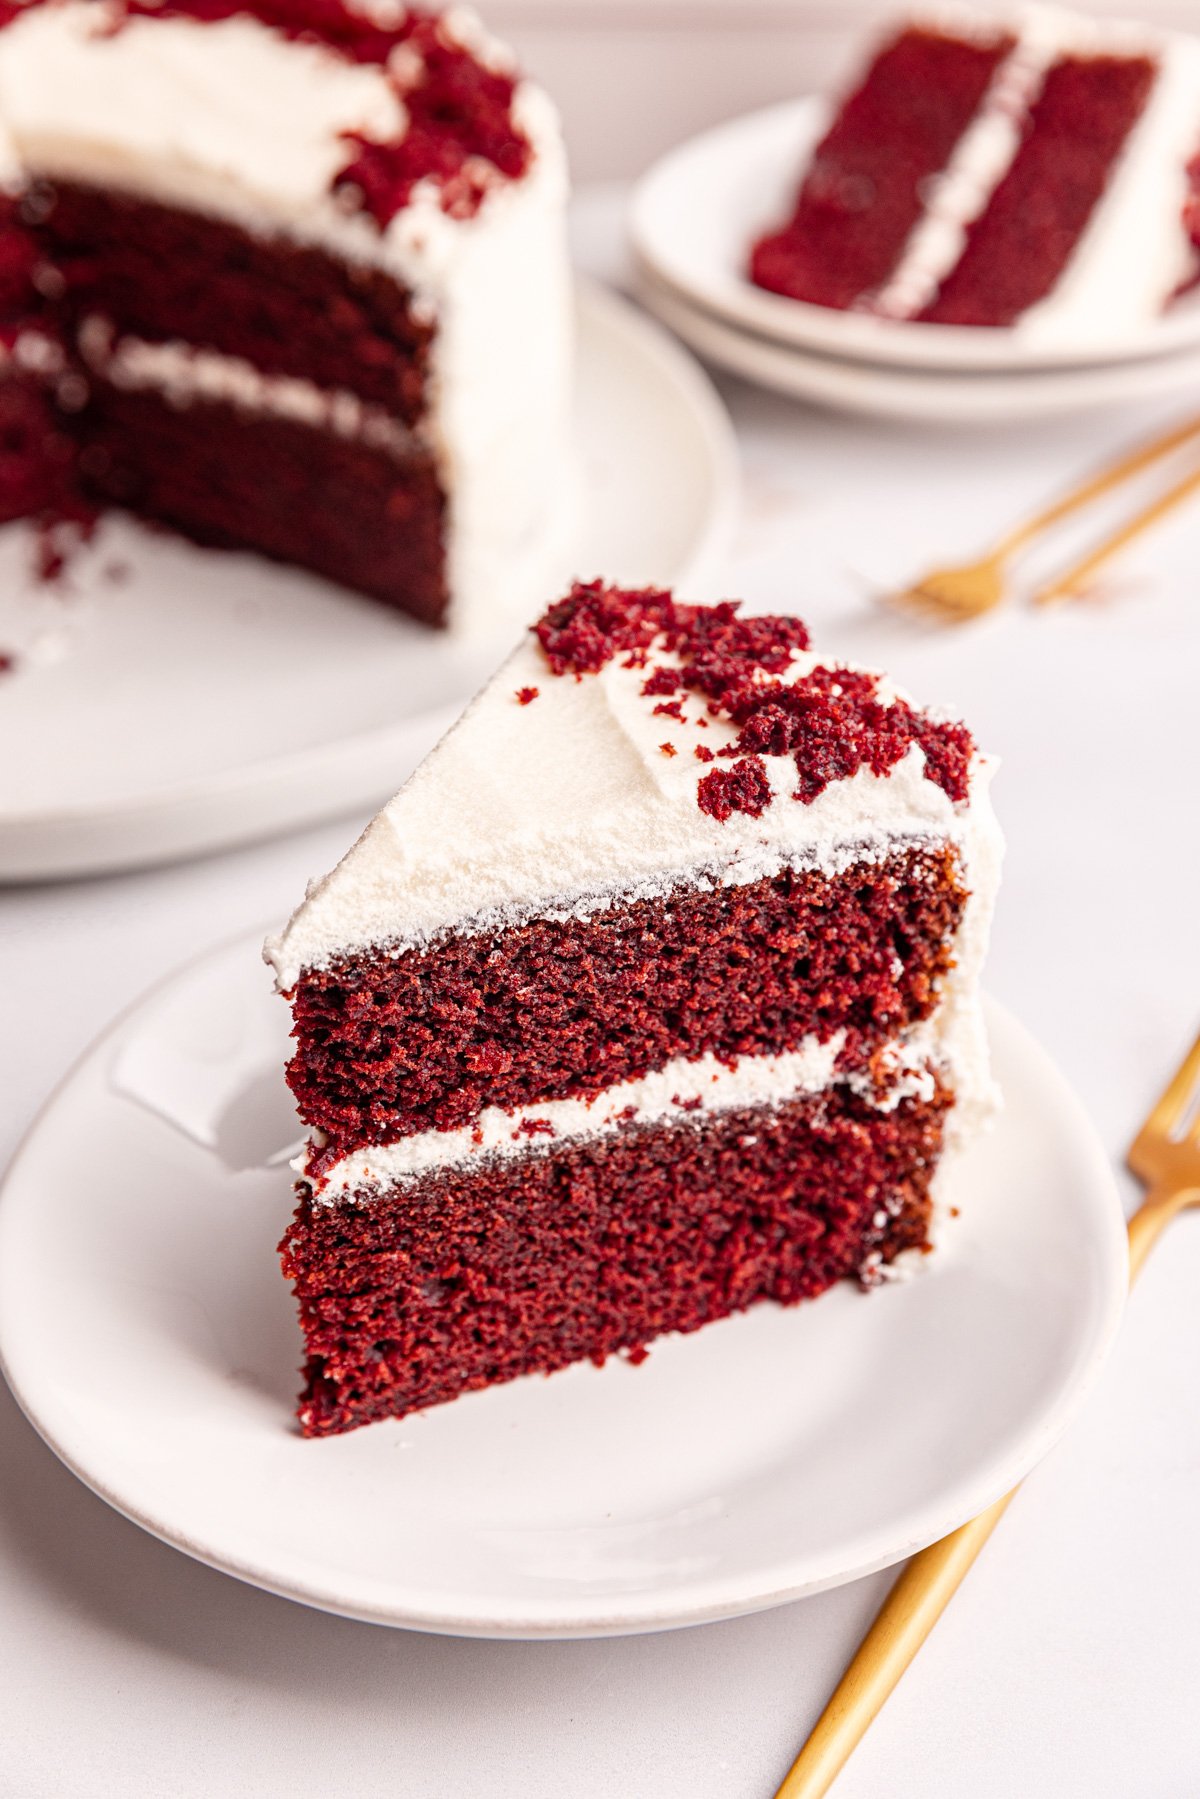
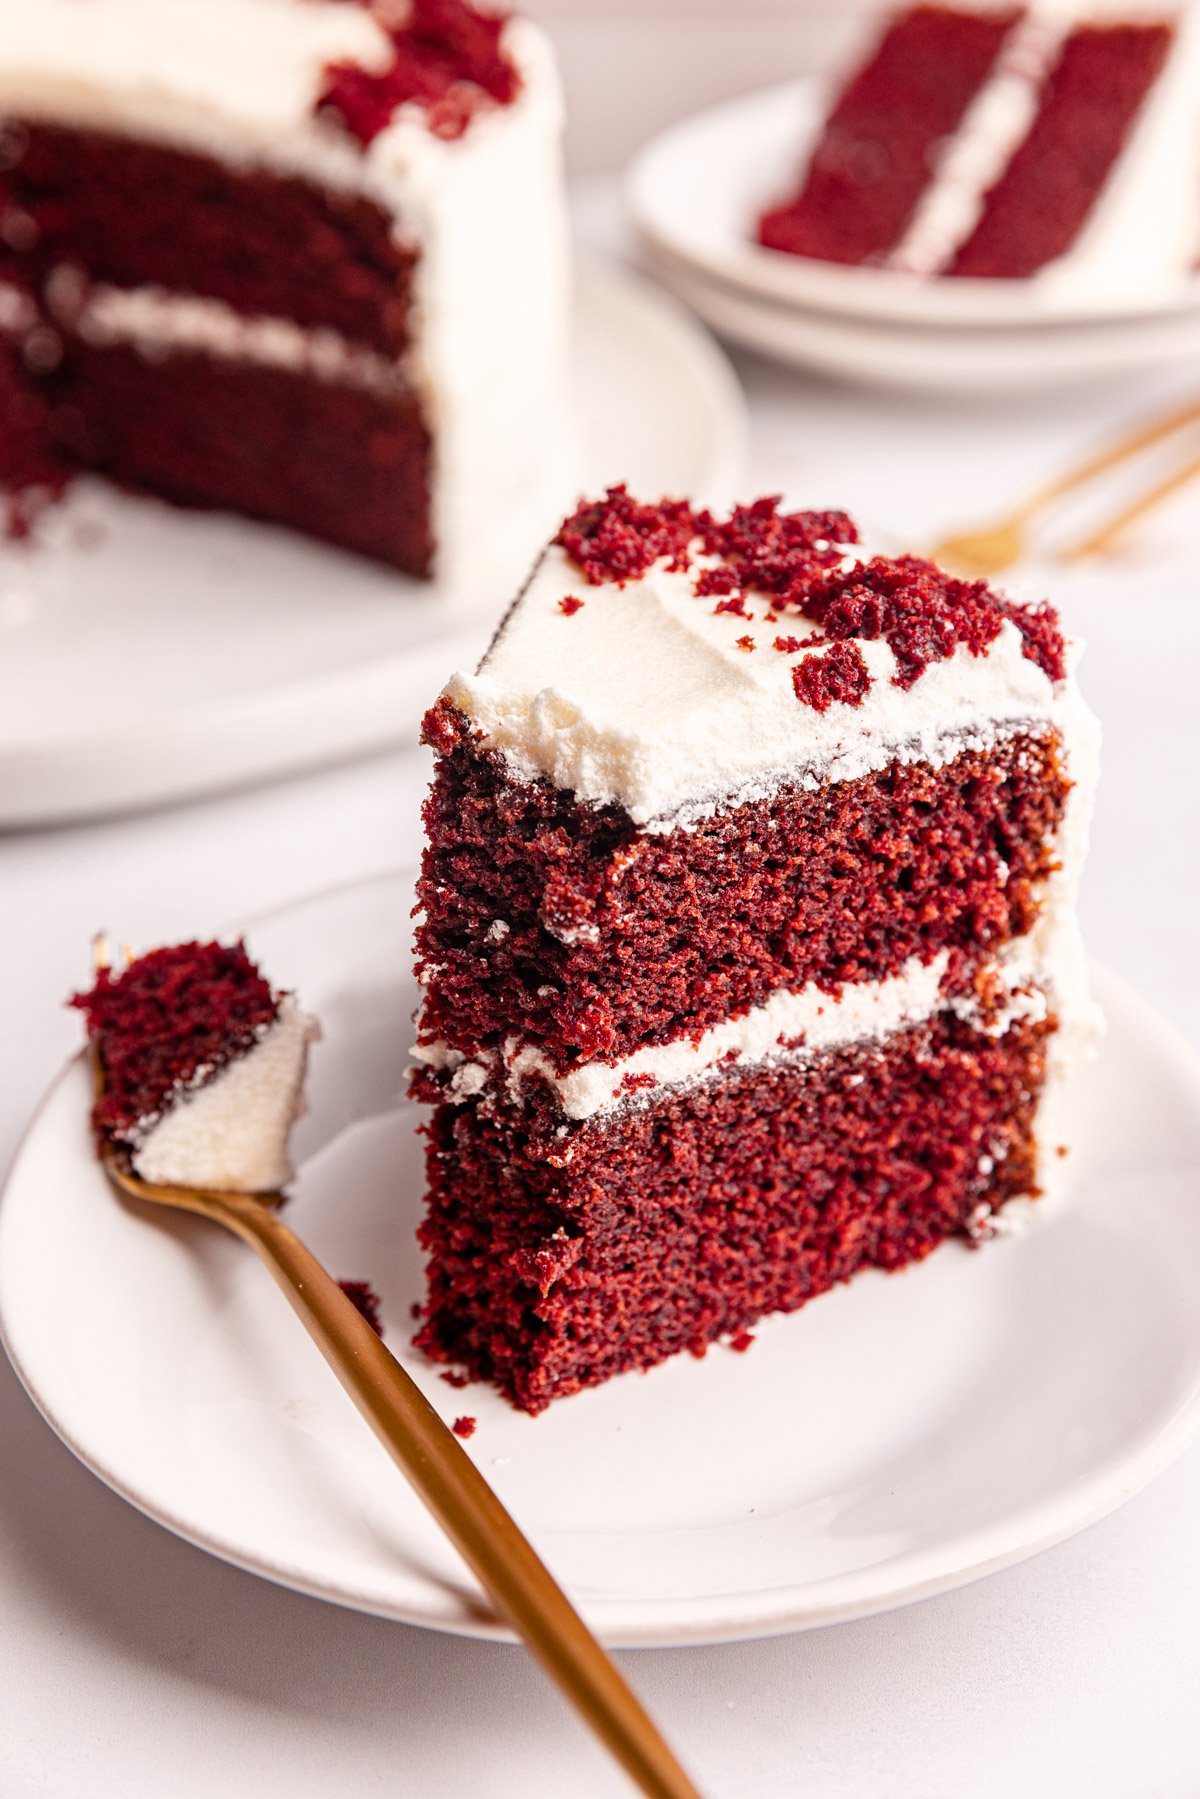
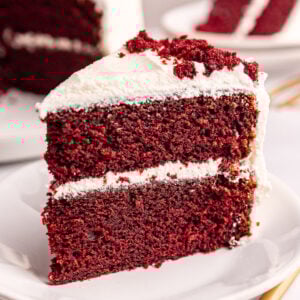
This Vegan Red Velvet Cake is rich and moist, made with vegan butter and naturally colored using beet juice. Finished with easy vegan cream cheese frosting, it's a show-stopping plant-based dessert - so moist and sweet, you'd never guess it's vegan!
Red velvet cake is my favorite of all cake flavors. As a vanilla loving girlie (I always pick vanilla over chocolate) I think red velvet cake is the perfect balance.
The cake itself is mostly a vanilla cake, but it just has a hint of richness from a small amount of cocoa powder. It doesn't taste chocolatey, just more rich! It's like a decadent version of vanilla cake, so really, it's everything I want.
Then the frosting. Often red velvet cake is frosted with cream cheese frosting, which, in my opinion, is the best. It's not as overwhelmingly sweet as other frostings, but it's still super creamy and delightful.
I've worked a long time on this vegan red velvet. I've tested it many times, to perfect the balance of richness, moist cake, beautiful color, and delicious frosting.
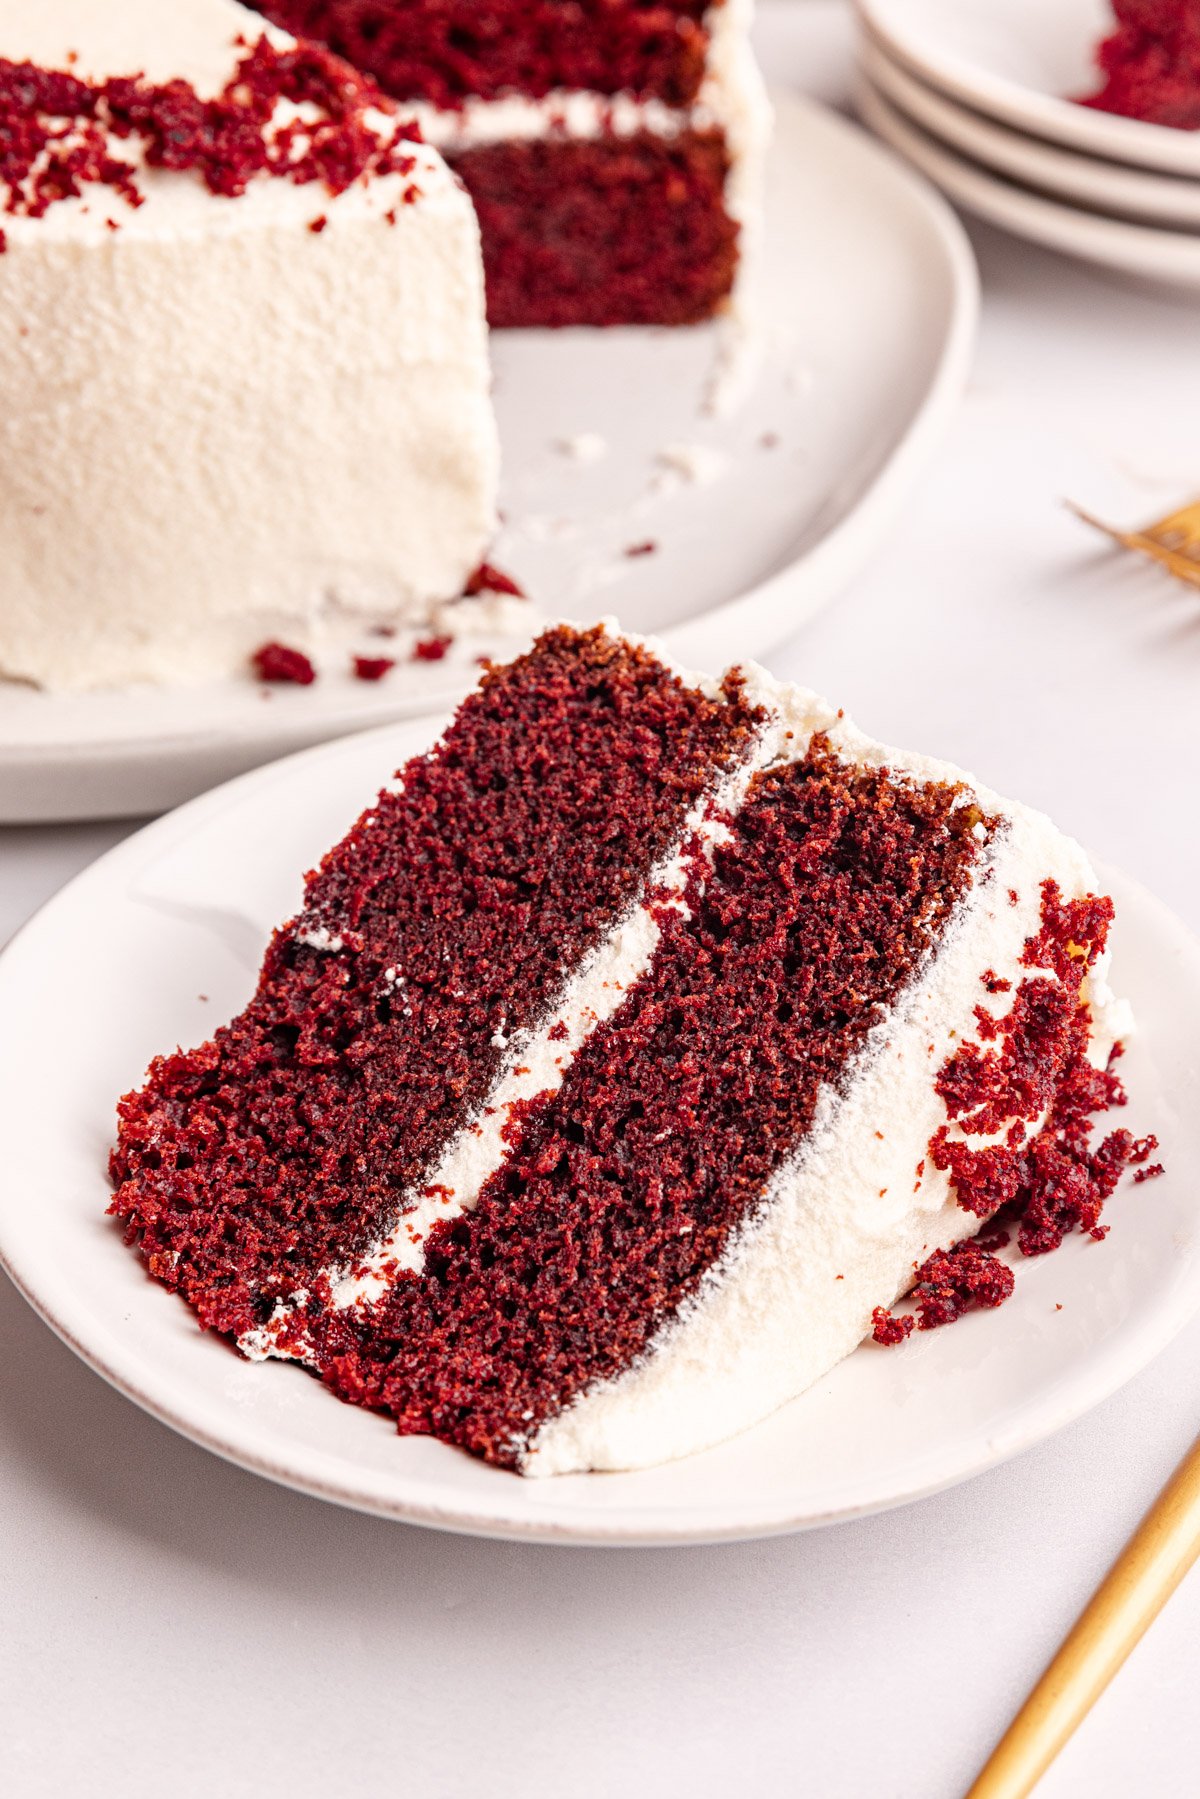
This vegan red velvet cake is moist and sweet - it tastes like you got it in a bakery. But it's actually really easy to make. And it uses everyday vegan pantry staples.
If you're looking for a healthier version of this cake, try my plant-based red velvet cake which uses chickpeas in the batter, or my gluten-free vegan red velvet cupcakes, which use oat flour and maple syrup.
But if you're looking for a classic cake turned vegan, this recipe is all you need!
Jump to:
Why You'll Love This Vegan Red Velvet Cake
- Vegan version of a classic - this is the vegan butter-and-sugar version of a classic red velvet cake. It takes all the elements of regular red velvet and swaps them for vegan alternatives. If you're looking for a healthier version of red velvet cake try my plant-based red velvet cake or my gluten-free vegan red velvet cupcakes
- Crowd-pleaser - no one will guess it's vegan
- Perfect for celebrations - birthdays, holidays, baby showers, brunch, or any special occasion.
- Naturally colored - Beet juice gives the cake its signature red hue without food dye. And you can't taste the beets!
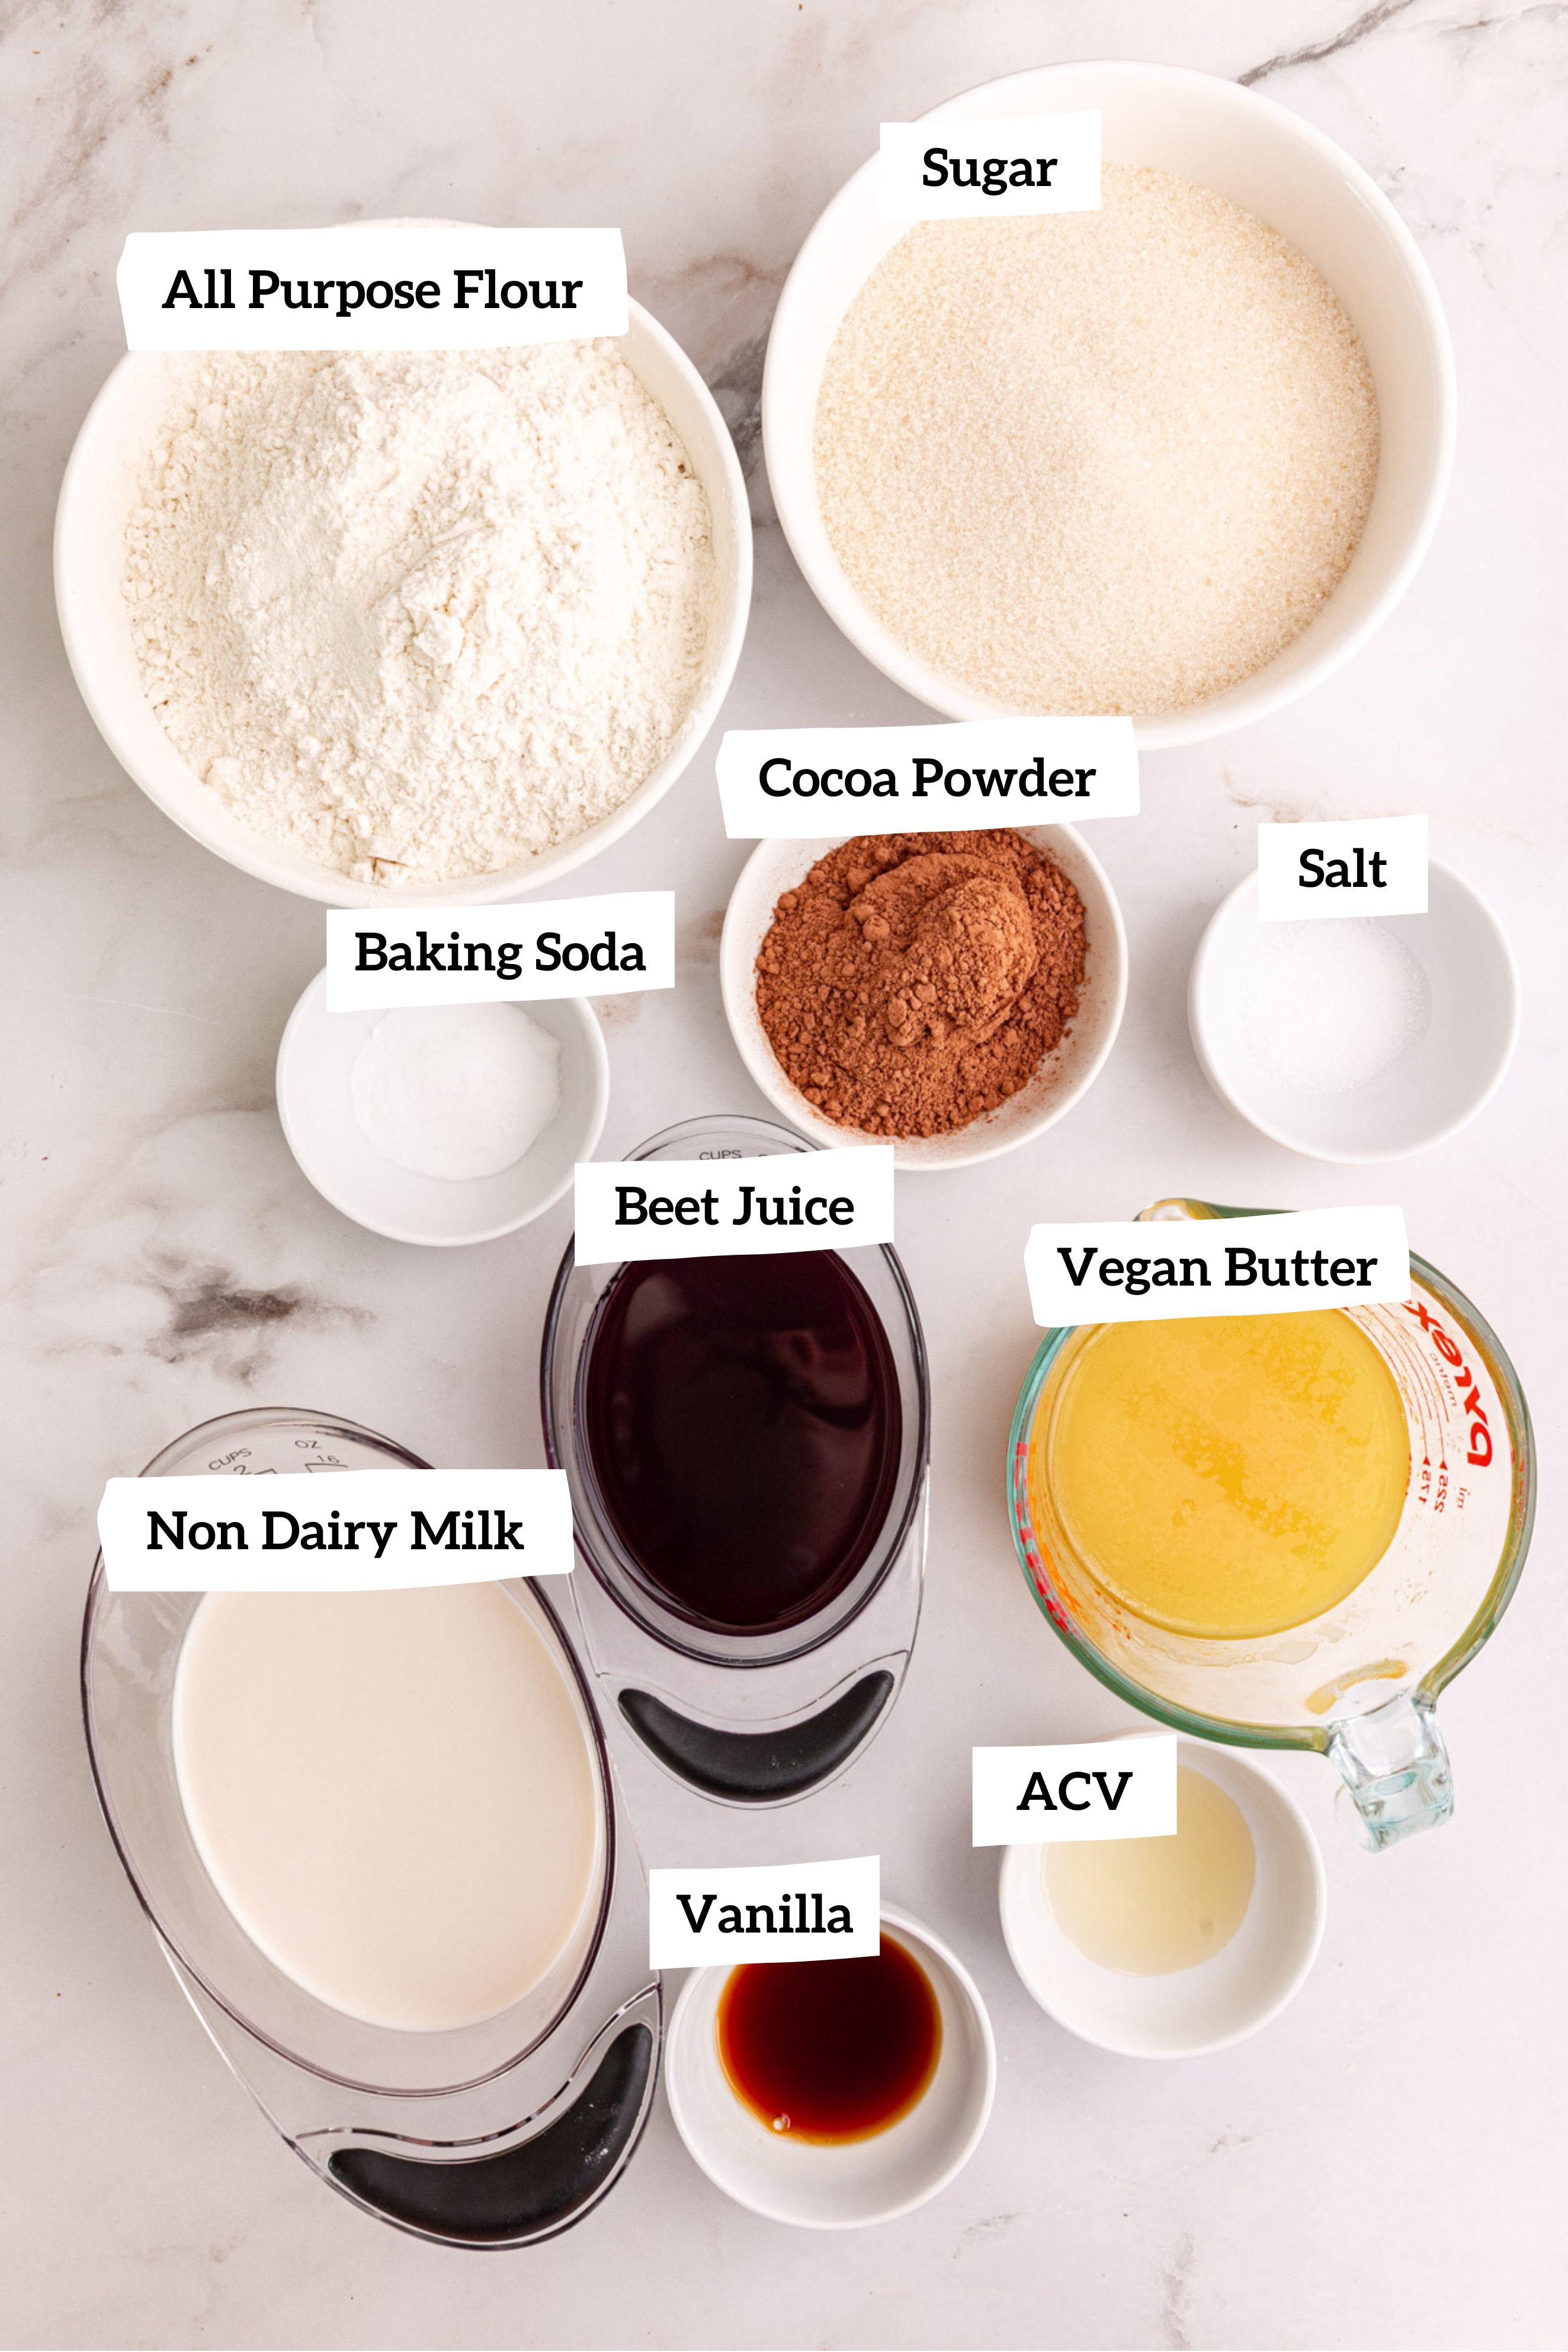
Ingredient Notes & Substitutions
- All Purpose Flour: you can easily make this gluten-free by subbing gluten-free all purpose flour
- Cocoa Powder: a bit of cocoa powder is what gives the cake its classic flavor. Use unsweetened cocoa powder for best results
- Granulated Sugar: This recipe calls for organic sugar because non-organic sugar is not vegan. For color, most sugar is processed with bone char. So, to keep the recipe fully vegan, use organic sugar.
- Baking Soda
- Salt
- Soy Milk: I like baking with soy milk because it adds protein, like a regular dairy milk would. Feel free to use other non-dairy milks
- Beet Juice: for the classic red color! Beet juice can usually be found in the juice aisle! I often buy small cans that are labeled as energy drinks (but only contain beet juice) because a smaller can is inexpensive compared to an entire bottle of juice
- Vegan Butter: I use Earth Balance buttery sticks. I highly recommend this brand for cakes, and the stick version, as it is intended for baking.
- Vanilla Extract
- Apple Cider Vinegar: this works with the baking soda to help give the cake rise. You can sub with white vinegar if necessary
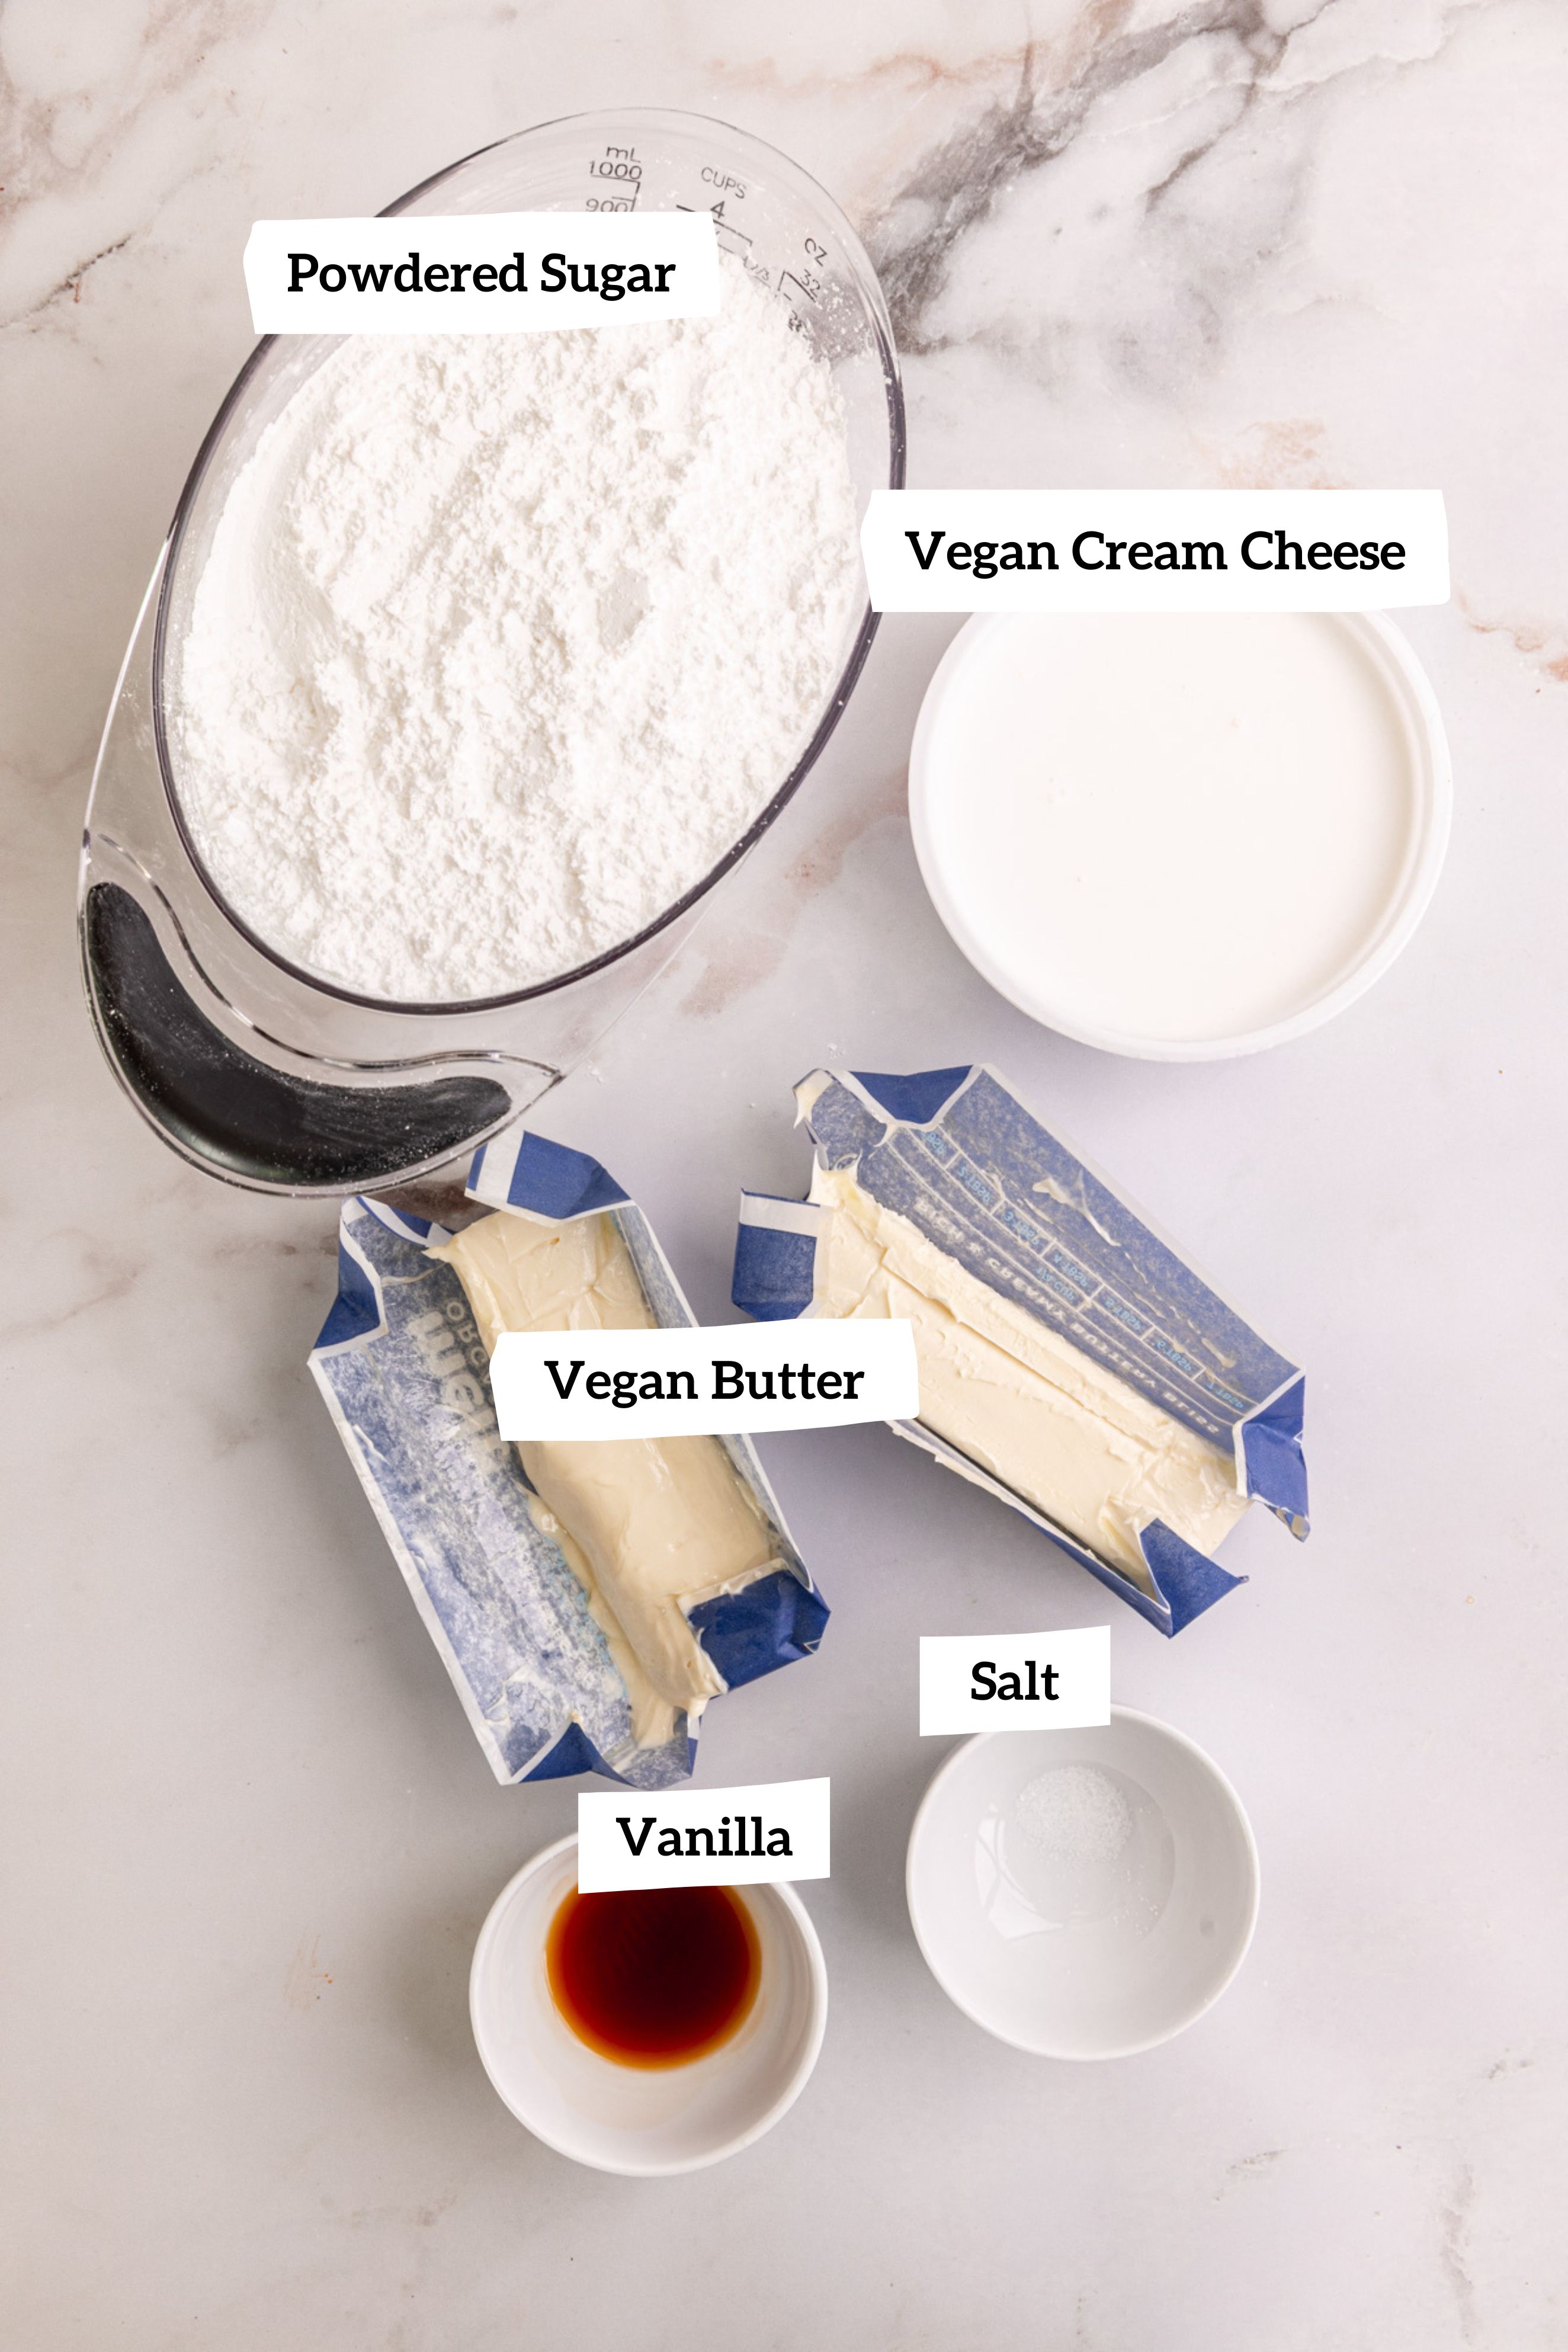
Frosting Ingredients
- Vegan Cream Cheese Buttercream Frosting: a delightful cream cheese frosting. For a healthier option, try my refined sugar free vegan cream cheese frosting
Step-By-Step Instructions
Step 1. Preheat the oven to 350°F. Line the bottom of two 8" cake pans with parchment paper.
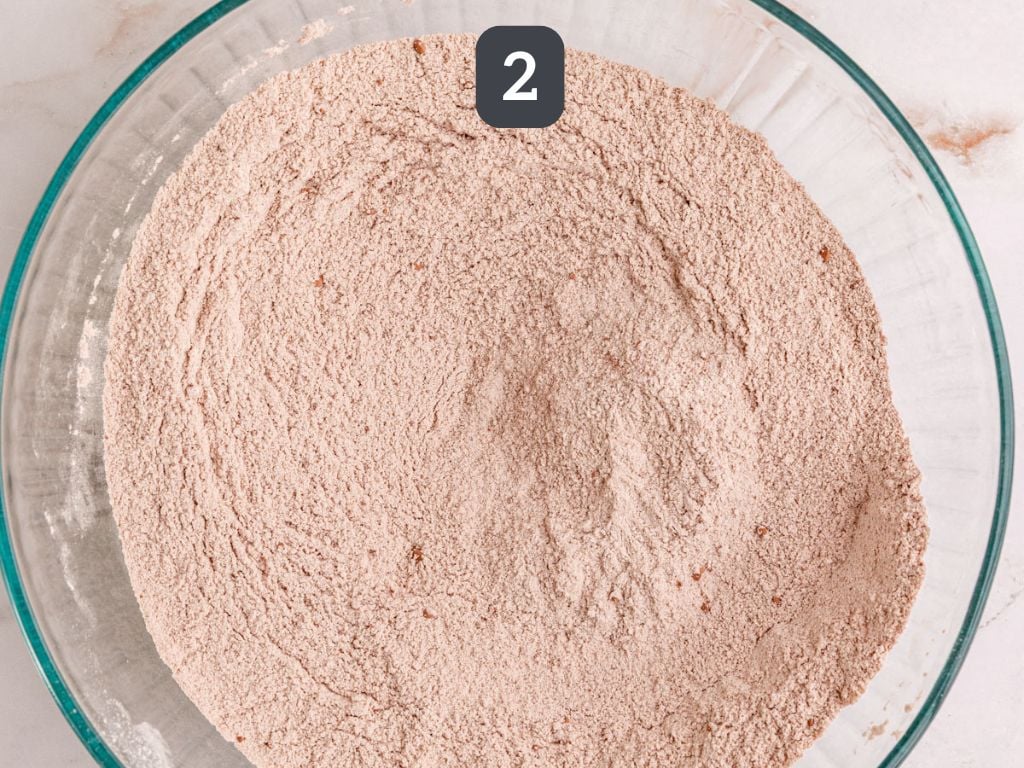
Step 2. In a large bowl, whisk together the flour, sugar, cocoa powder, baking soda, and salt.
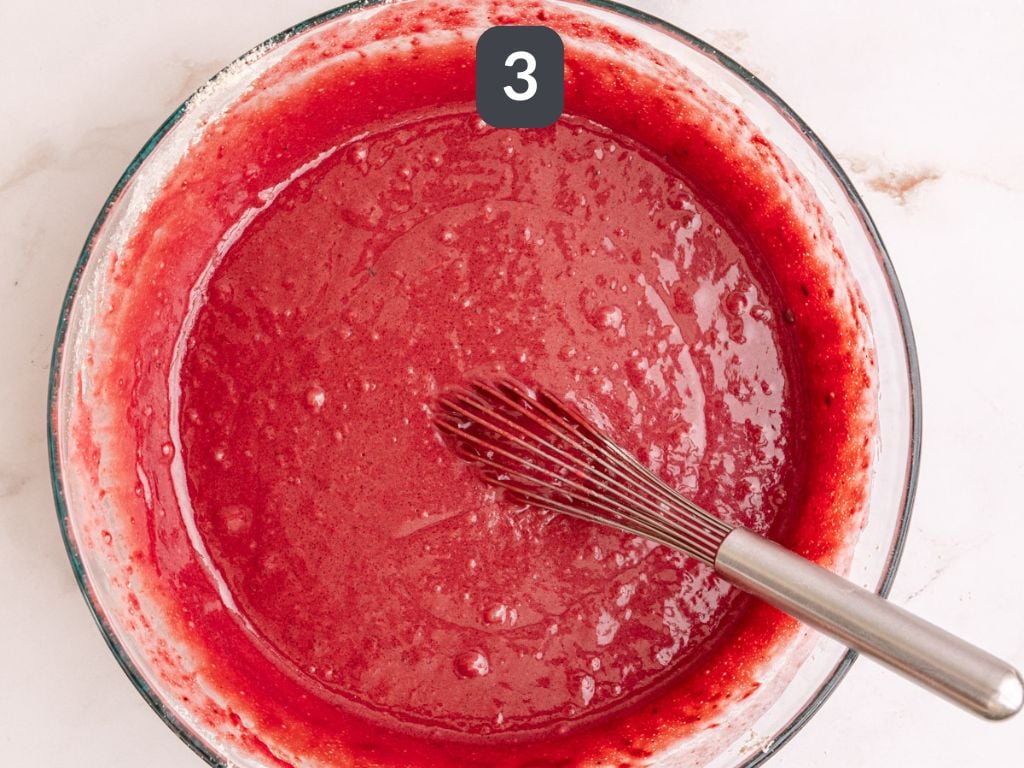
Step 3. Add the soy milk, beet juice, melted butter, vanilla, and apple cider vinegar. Mix until just combined.
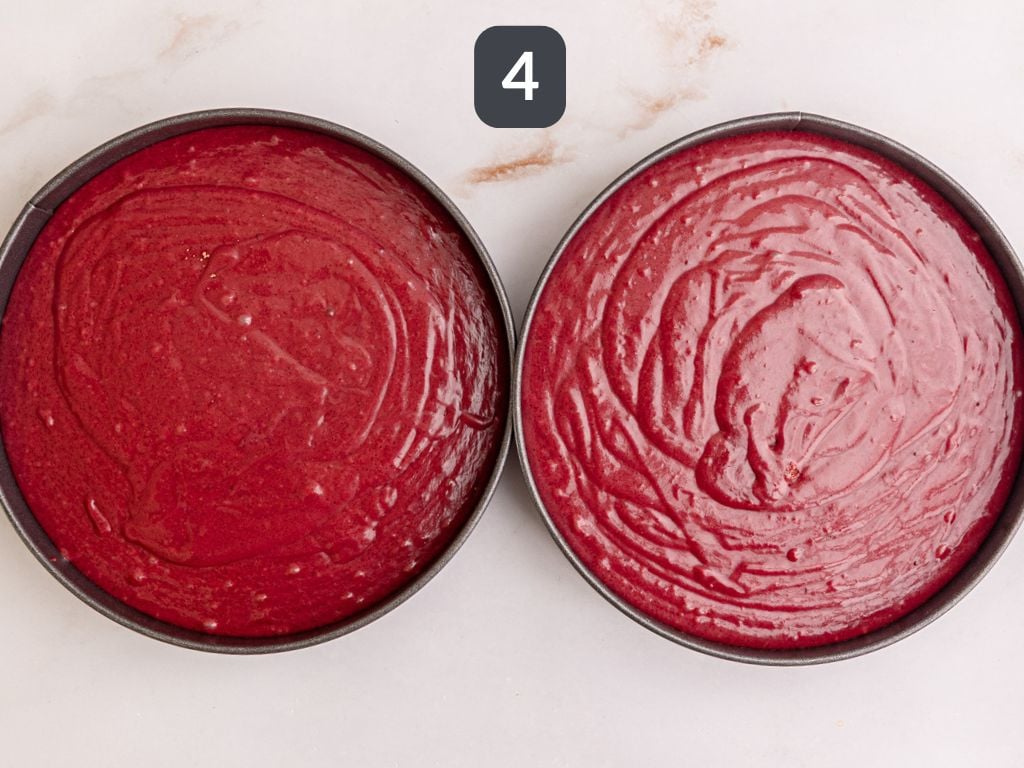
Step 4. Divide the batter into the prepared pans.
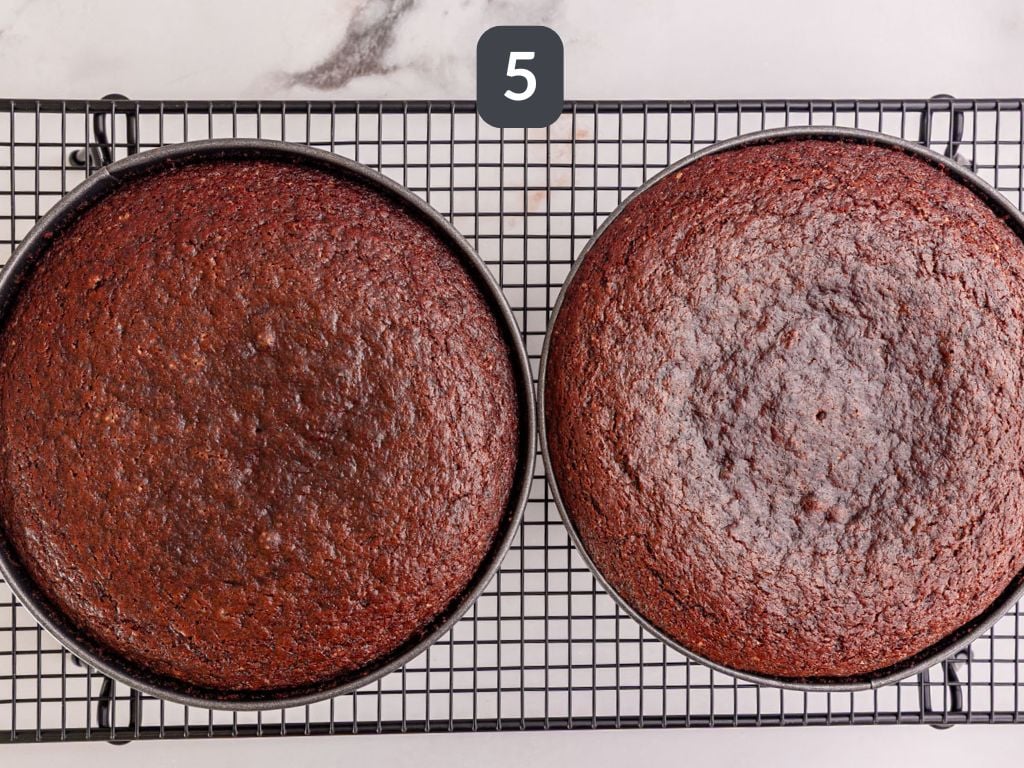
Step 5. Bake for 35-40 minutes, until the center of the cake feels firm and a toothpick comes out clean. Let cool completely on a wire rack. For best results, refrigerate overnight after cooling.
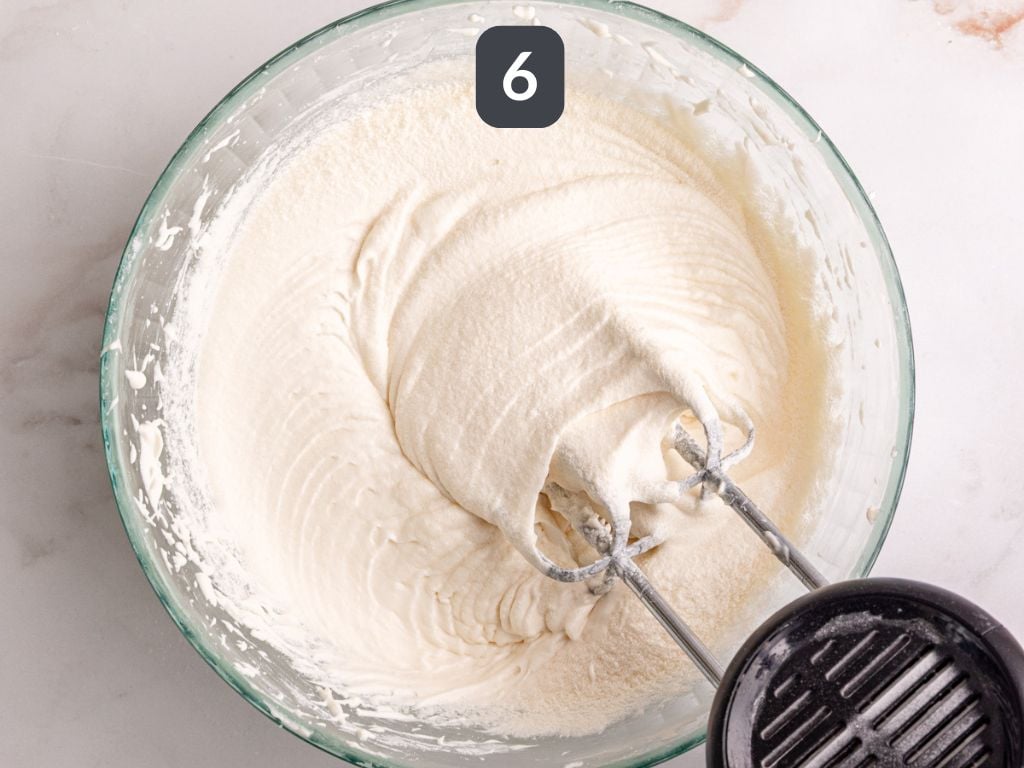
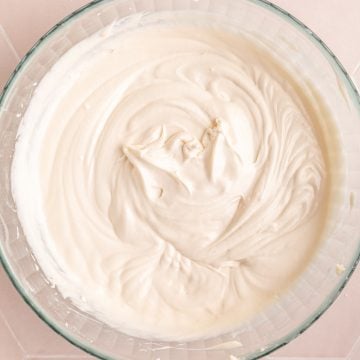
Step 6. Make the Vegan Cream Cheese Buttercream Frosting. Place in the fridge until ready to frost.
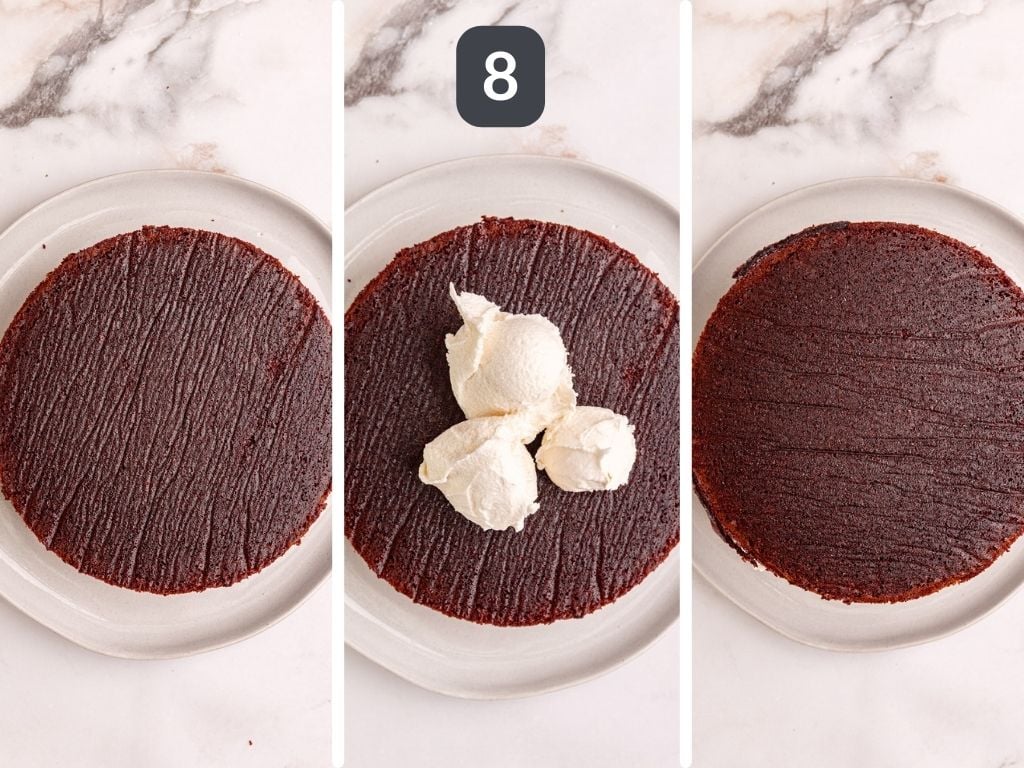
Step 7. Use a serrated knife to level the cakes. Reserve some cake crumbs for decorating, if desired.

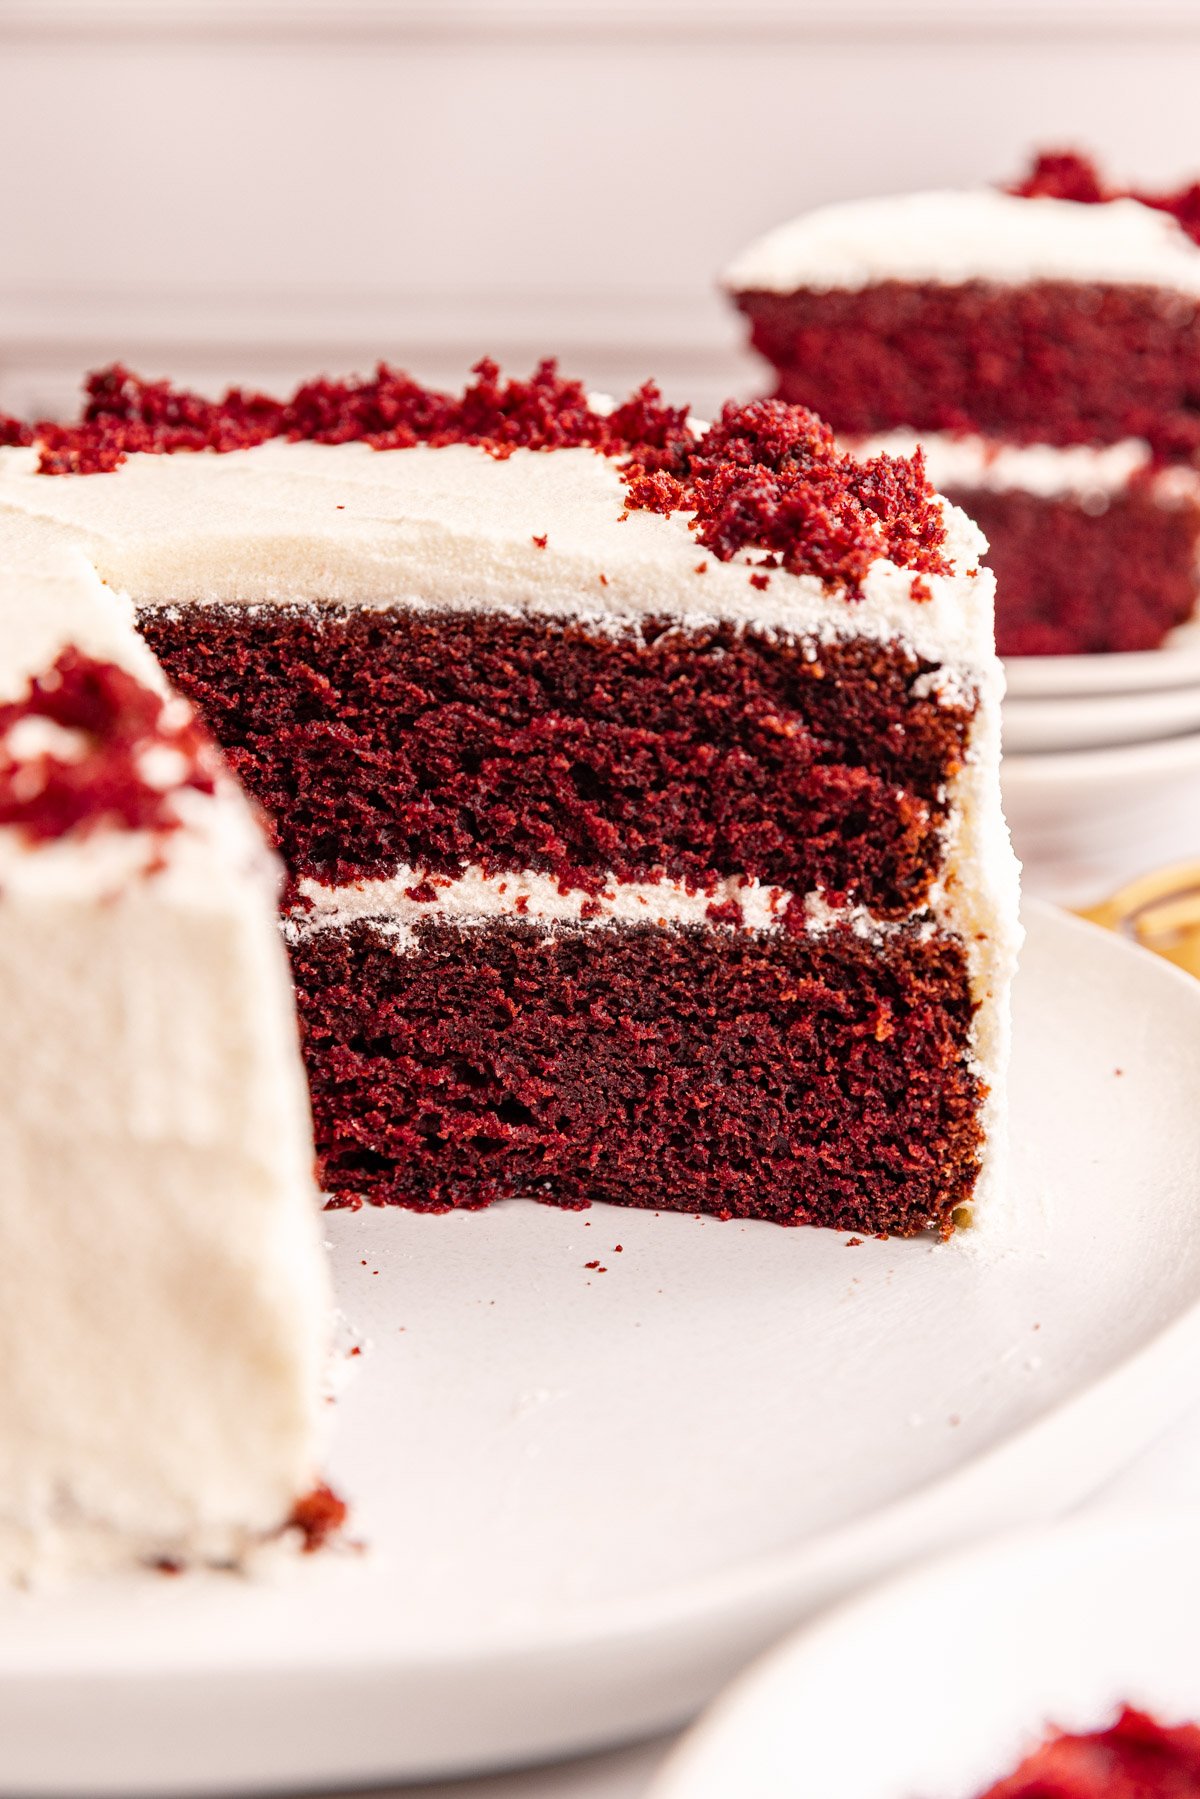
Step 8. Invert the first cake onto a plate or cake stand. Add a layer of frosting, then add the other cake.
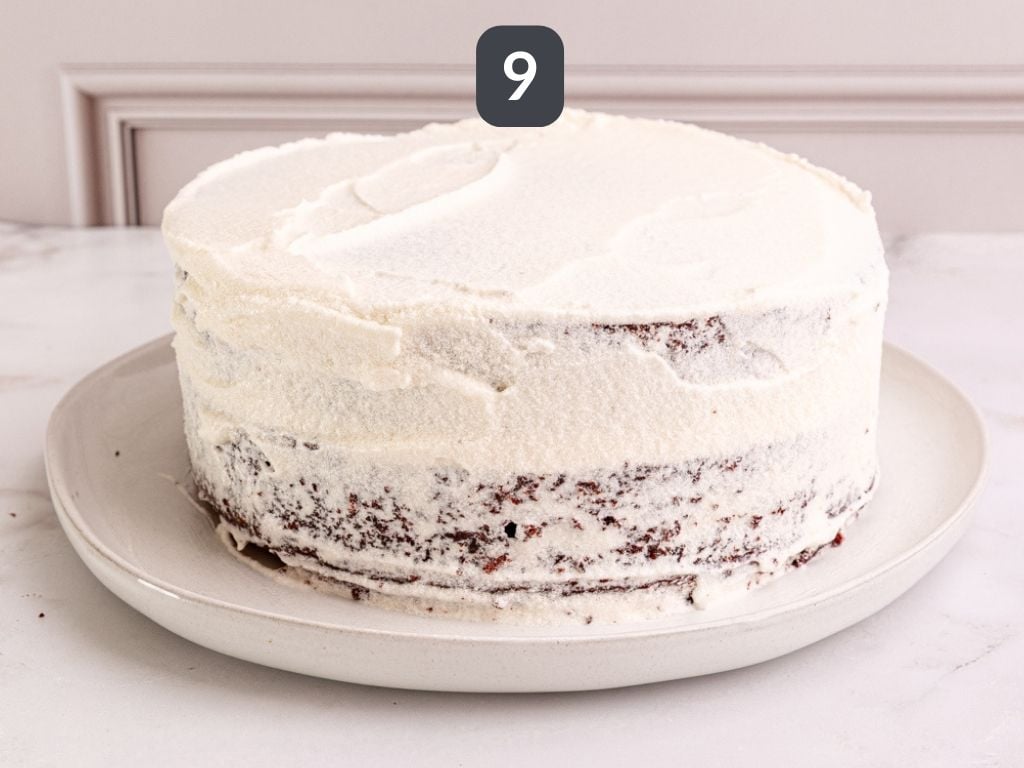
Step 9. Use an offset spatula to spread a very thin layer of frosting all over the cake. This is a crumb coat. This covers the cake in frosting, allowing for a smoother final coat. Refrigerate for 1-2 hours to set the frosting.If you do not want to crumb coat, feel free to just frost the entire cake at this step.
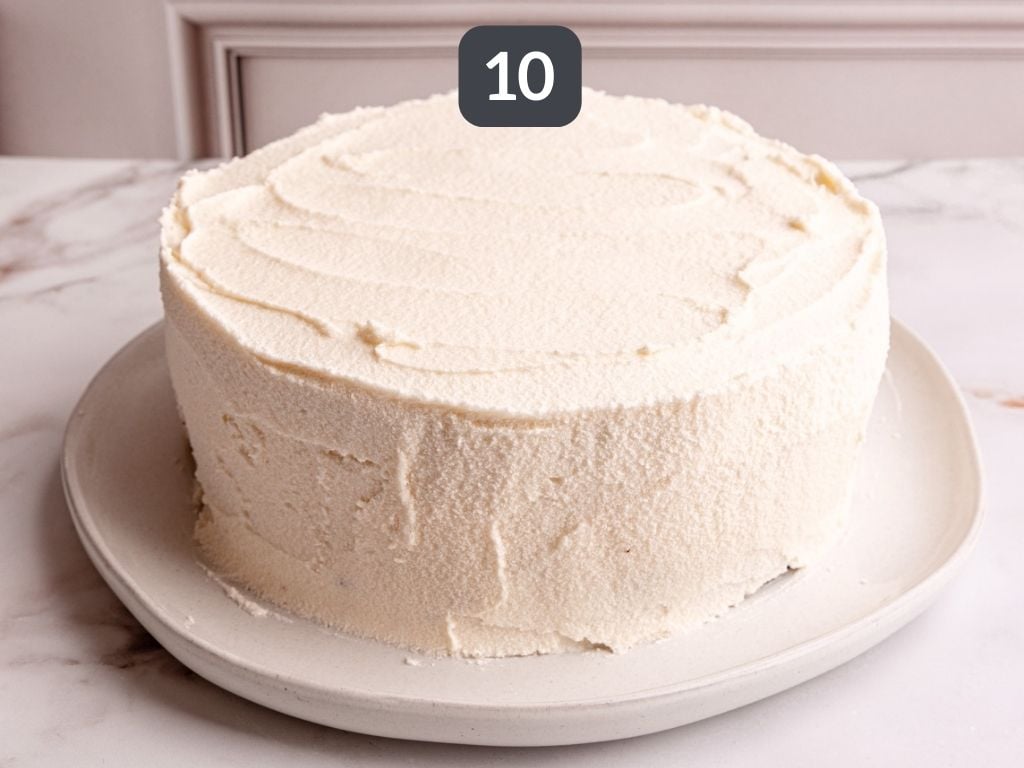
Step 10. After the cake is chilled, use an offset spatula to cover the cake with the remaining frosting.
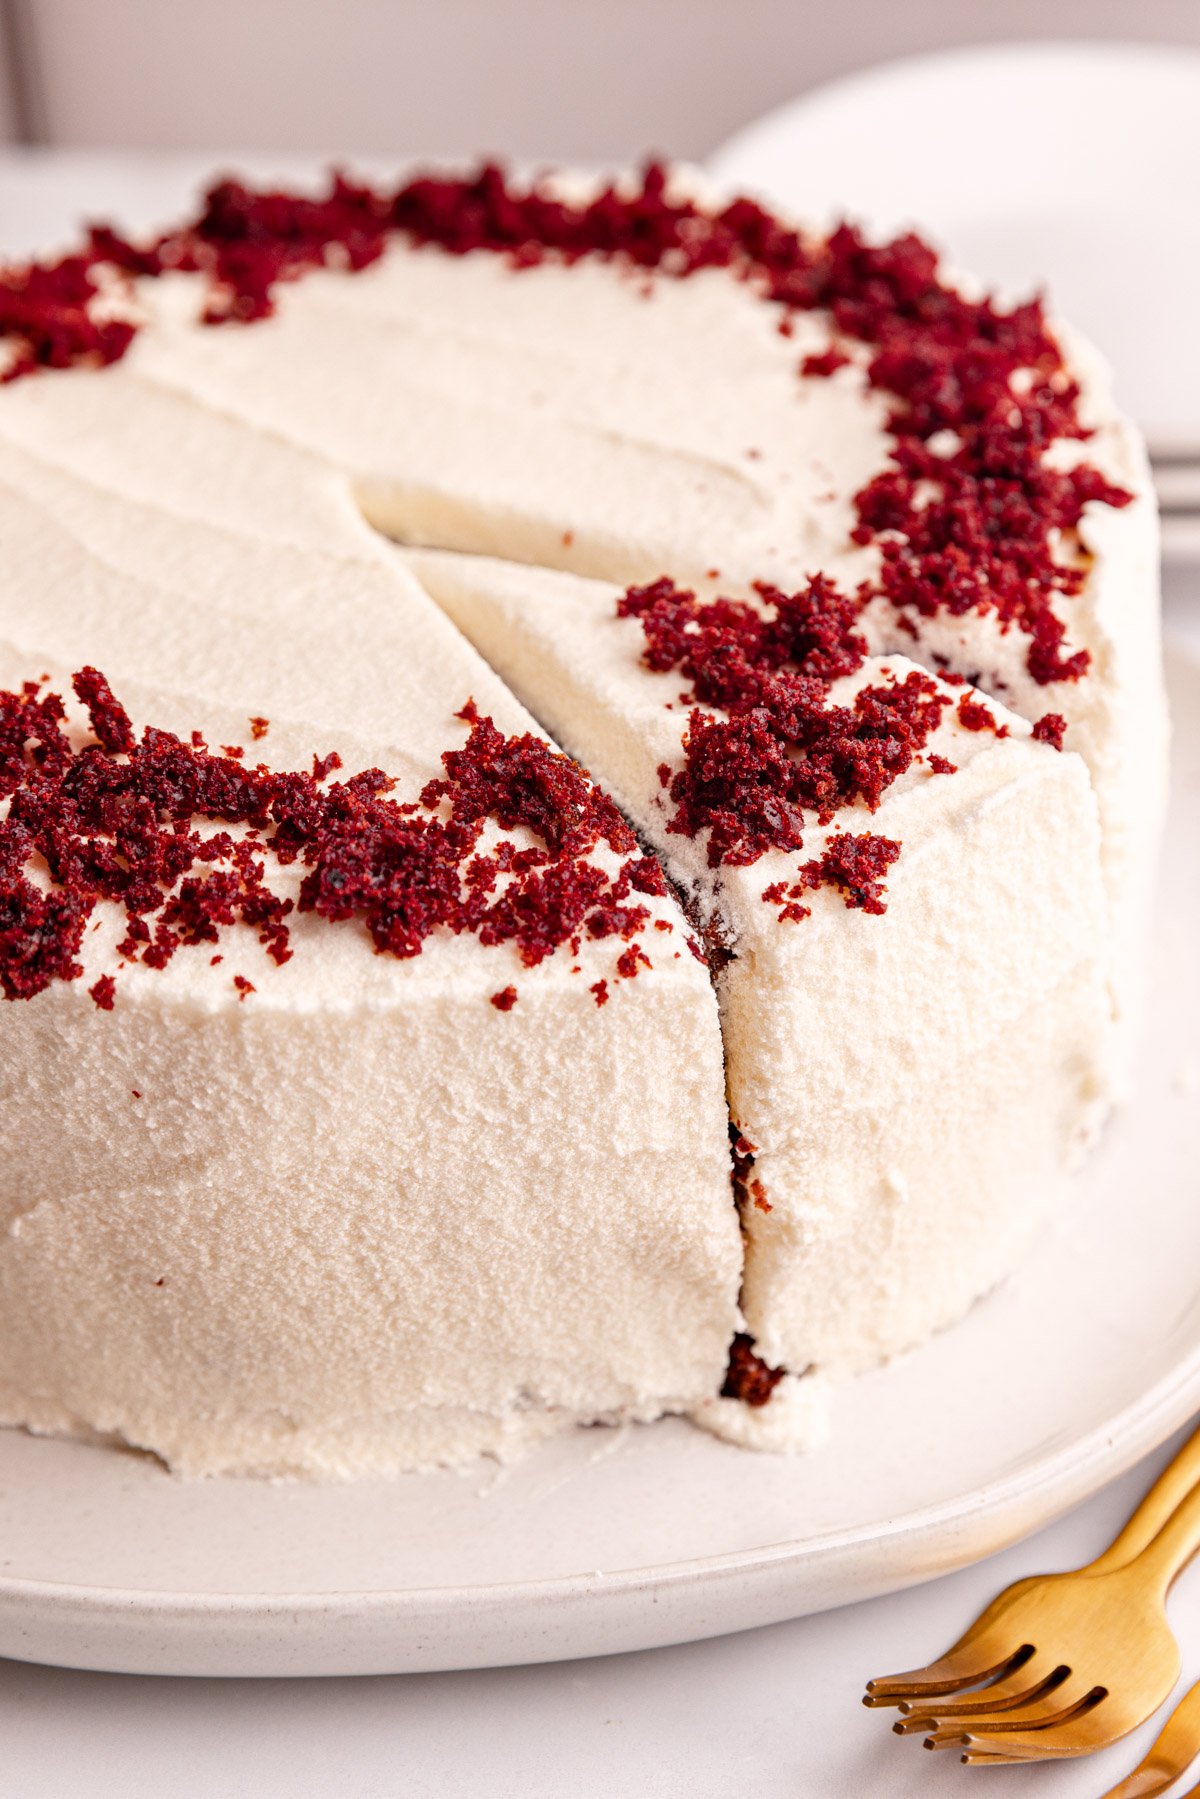
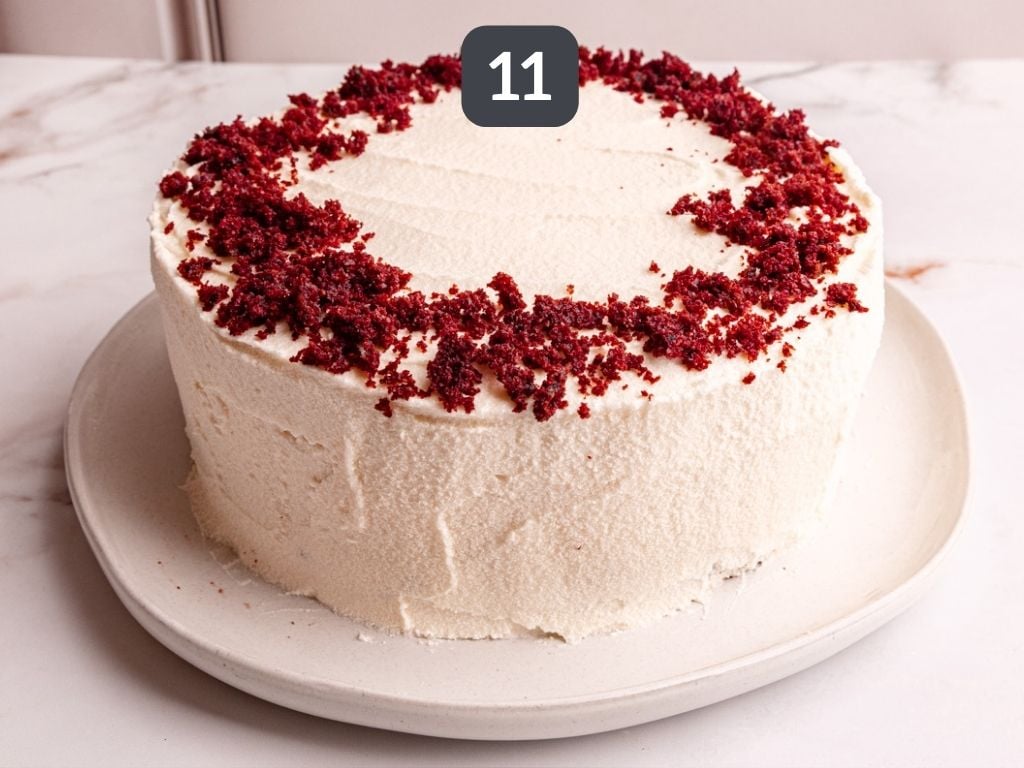
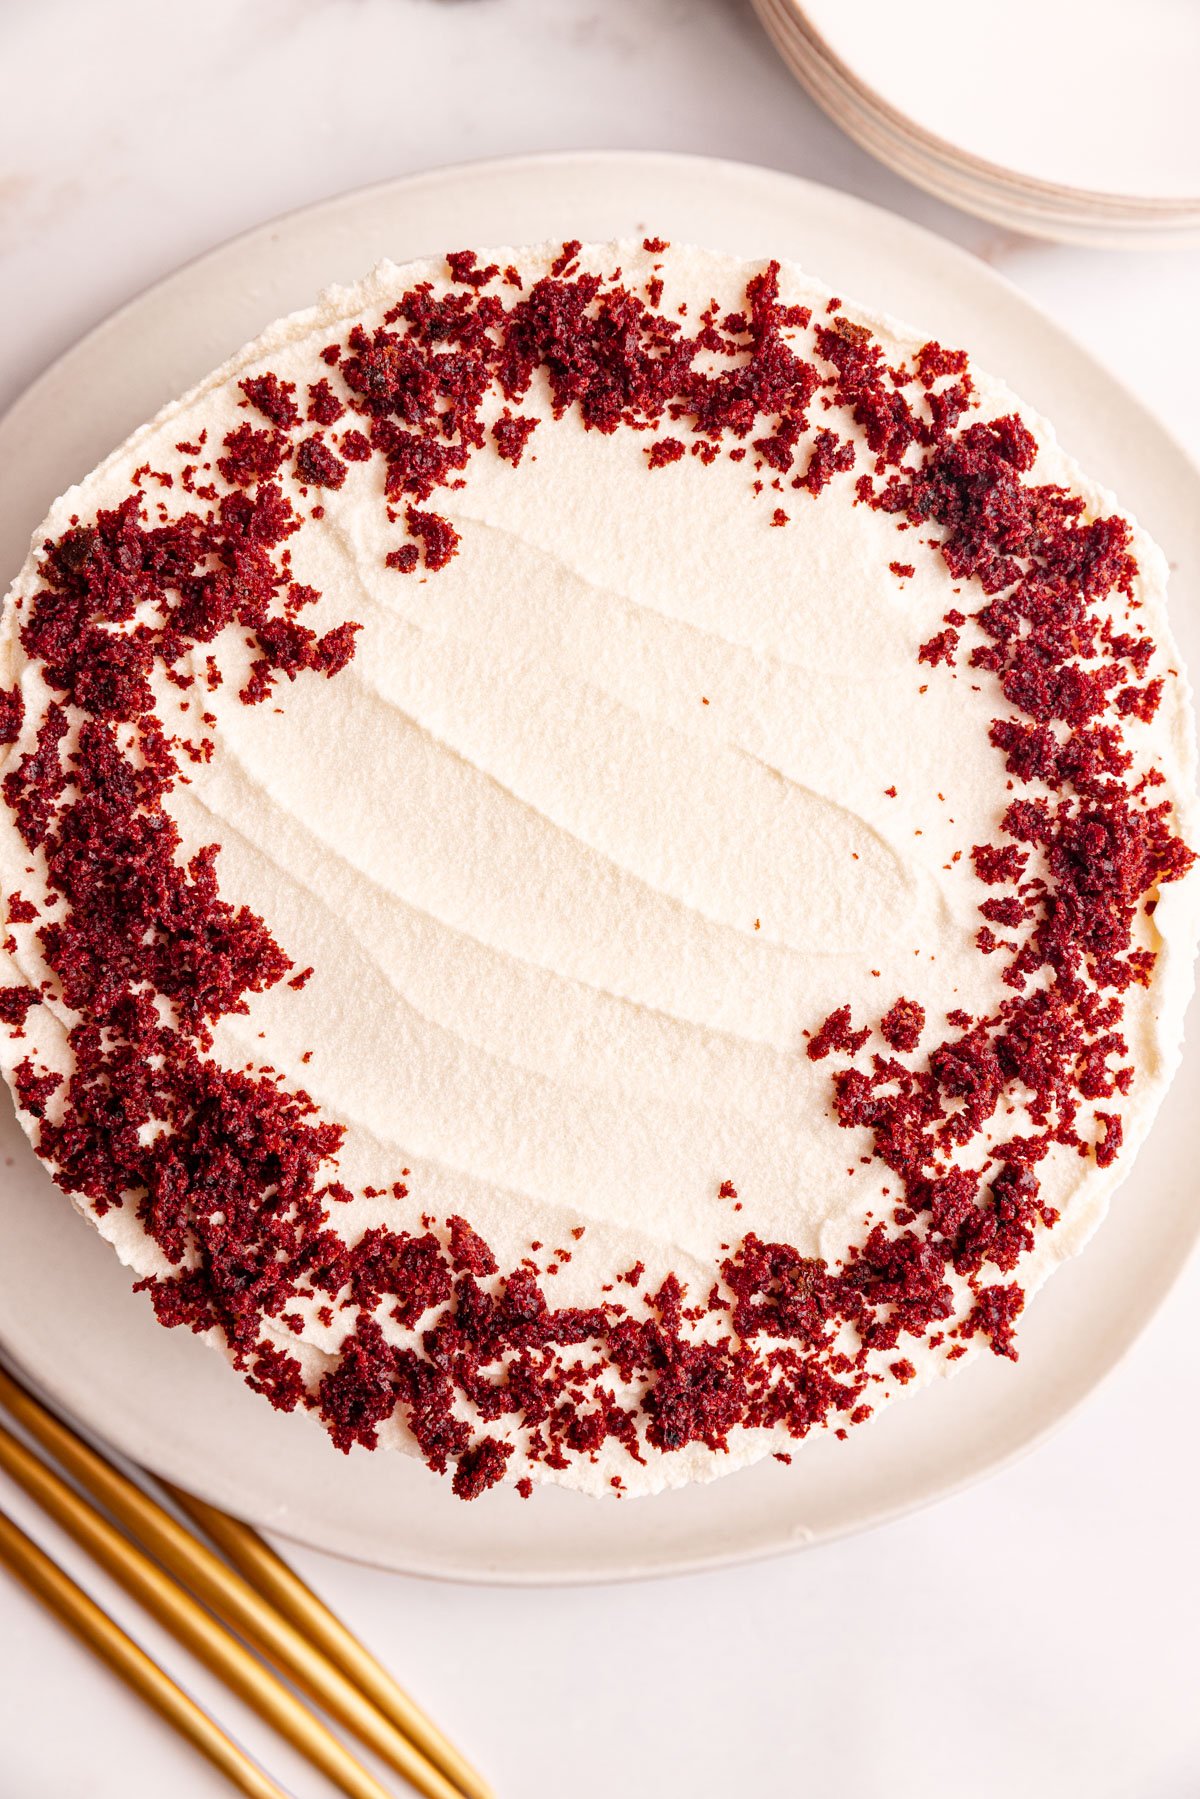
Step 11. Sprinkle cake crumbs in a circle around the top edges of the cake to decorate. Serve! Keep any leftovers refrigerated.
FAQ & Expert Tips
Yes! Use a gluten-free all purpose flour like King Arthur or Pamela's. Check for doneness around the 30 minute mark - GF flour absorbs more moisture than regular.
When baking gluten free it is especially important to let the cake cool completely. I highly recommend refrigerating the layers before frosting.
OR check out my plant-based red velvet cake or my gluten-free vegan red velvet cupcakes which are both made with gf oat flour
Nope! The beet juice is used for color only and the flavor bakes out completely.
Yes! In fact, I recommend that you do this. Bake the cake a day before you want to frost and serve. You can also crumb coat 1-2 days in advance and do the final frosting the day you'd like to serve.
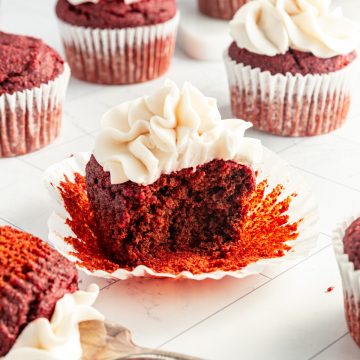
Yes! This will yield 24 cupcakes. Bake for 18-22 minutes, until a toothpick comes out clean.
Store in the fridge! I like to put the frosted cake in the fridge for 15 minutes to firm up, then cover in plastic wrap.
The cake lasts up to a week in the fridge. If you don't plan to eat it all, you can freeze it! Slice, wrap in plastic wrap, and place in a freezer safe bag. Freeze for up to six months.
Recipe Prayer
Jesus, thank you for the gifts of delicious desserts. Grant us the time to enjoy this cake with our friends and loved ones. Amen.
Related Recipes

Tried this recipe?
Please leave a review in the comments section below and post on Instagram tagging me @elizabeths_table. You can also stay in touch with me on social media by following me on Instagram, Pinterest, and TikTok or by subscribing to my newsletter.
📖 Recipe
Moist Vegan Red Velvet Cake with Cream Cheese Frosting
Print Pin RateEquipment
- 2 8" Cake Pans ideally with removable bottom, or springform
Ingredients
Cake
- 2 ¾ Cups All Purpose Flour
- ¼ Cup Cocoa Powder
- 2 Cups Organic White Sugar
- 2 Teaspoons Baking Soda
- 1 Teaspoon Salt
- 1 ¼ Cup Soy Milk
- ¾ Cup Beet Juice
- ½ Cup + 2 Tablespoons Vegan Butter melted
- 2 Teaspoon Vanilla Extract
- 2 Teaspoons Apple Cider Vinegar
Frosting
- 1 Recipe Vegan Cream Cheese Buttercream Frosting use full batch if frosting the entire cake; use ½ batch if frosting the middle layer and top only
Instructions
- Preheat the oven to 350°F. Line the bottom of two 8" cake pans with parchment paper.
- In a large bowl, whisk together the flour, sugar, cocoa powder, baking soda, and salt.
- Add the soy milk, beet juice, melted butter, vanilla, and apple cider vinegar. Mix until just combined.
- Divide the batter into the prepared pans.
- Bake for 35-40 minutes, until the center of the cake feels firm and a toothpick comes out clean. Let cool completely on a wire rack. For best results, refrigerate overnight after cooling.
- Make the Vegan Cream Cheese Buttercream Frosting. Place in the fridge until ready to frost.
- Use a serrated knife to level the cakes. Reserve some cake crumbs for decorating, if desired.
- Invert the first cake onto a plate or cake stand. Add a layer of frosting, then add the other cake.
- Use an offset spatula to spread a very thin layer of frosting all over the cake. This is a crumb coat. This covers the cake in frosting, allowing for a smoother final coat. Refrigerate for 1-2 hours to set the frosting.If you do not want to crumb coat, feel free to just frost the entire cake at this step.
- After the cake is chilled, use an offset spatula to cover the cake with the remaining frosting.
- Sprinkle cake crumbs in a circle around the top edges of the cake to decorate.Serve! Keep any leftovers refrigerated.
Video
Nutrition
Nutrition information is an estimate.
Comments
No Comments