Boost immunity and get in some good-for-you nutrients with homemade ginger shots. Ready in 5 minutes and cheaper than store bought! With an elderberry variation.
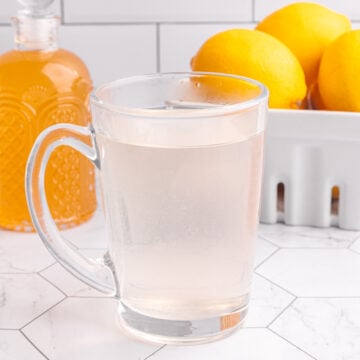
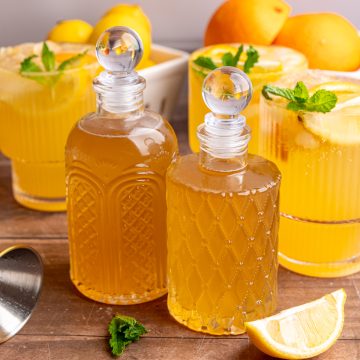
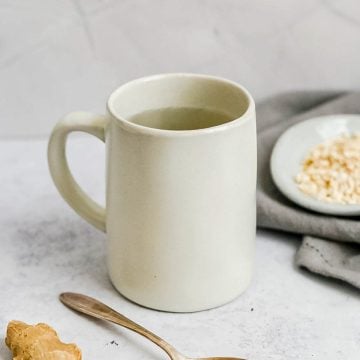
I have been obsessed with the benefits of ginger lately and trying to get more of it in my diet. I made a lemon ginger syrup, which I then turned into a fun citrus mocktail and super easy lemon ginger tea.
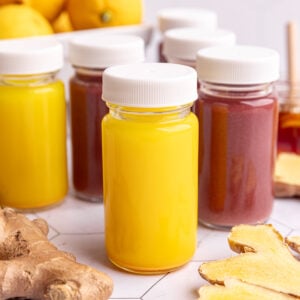
For even more potent ginger, I decided to make some homemade ginger shots. These little guys are a super easy way to get in all the antioxidants and benefits of ginger, in one quick drink.
You can definitely buy ginger shots from the store - and there are some brands that I really love - but homemade ginger shots are significantly cheaper than store-bought. And you get to control the flavor, potency, etc.

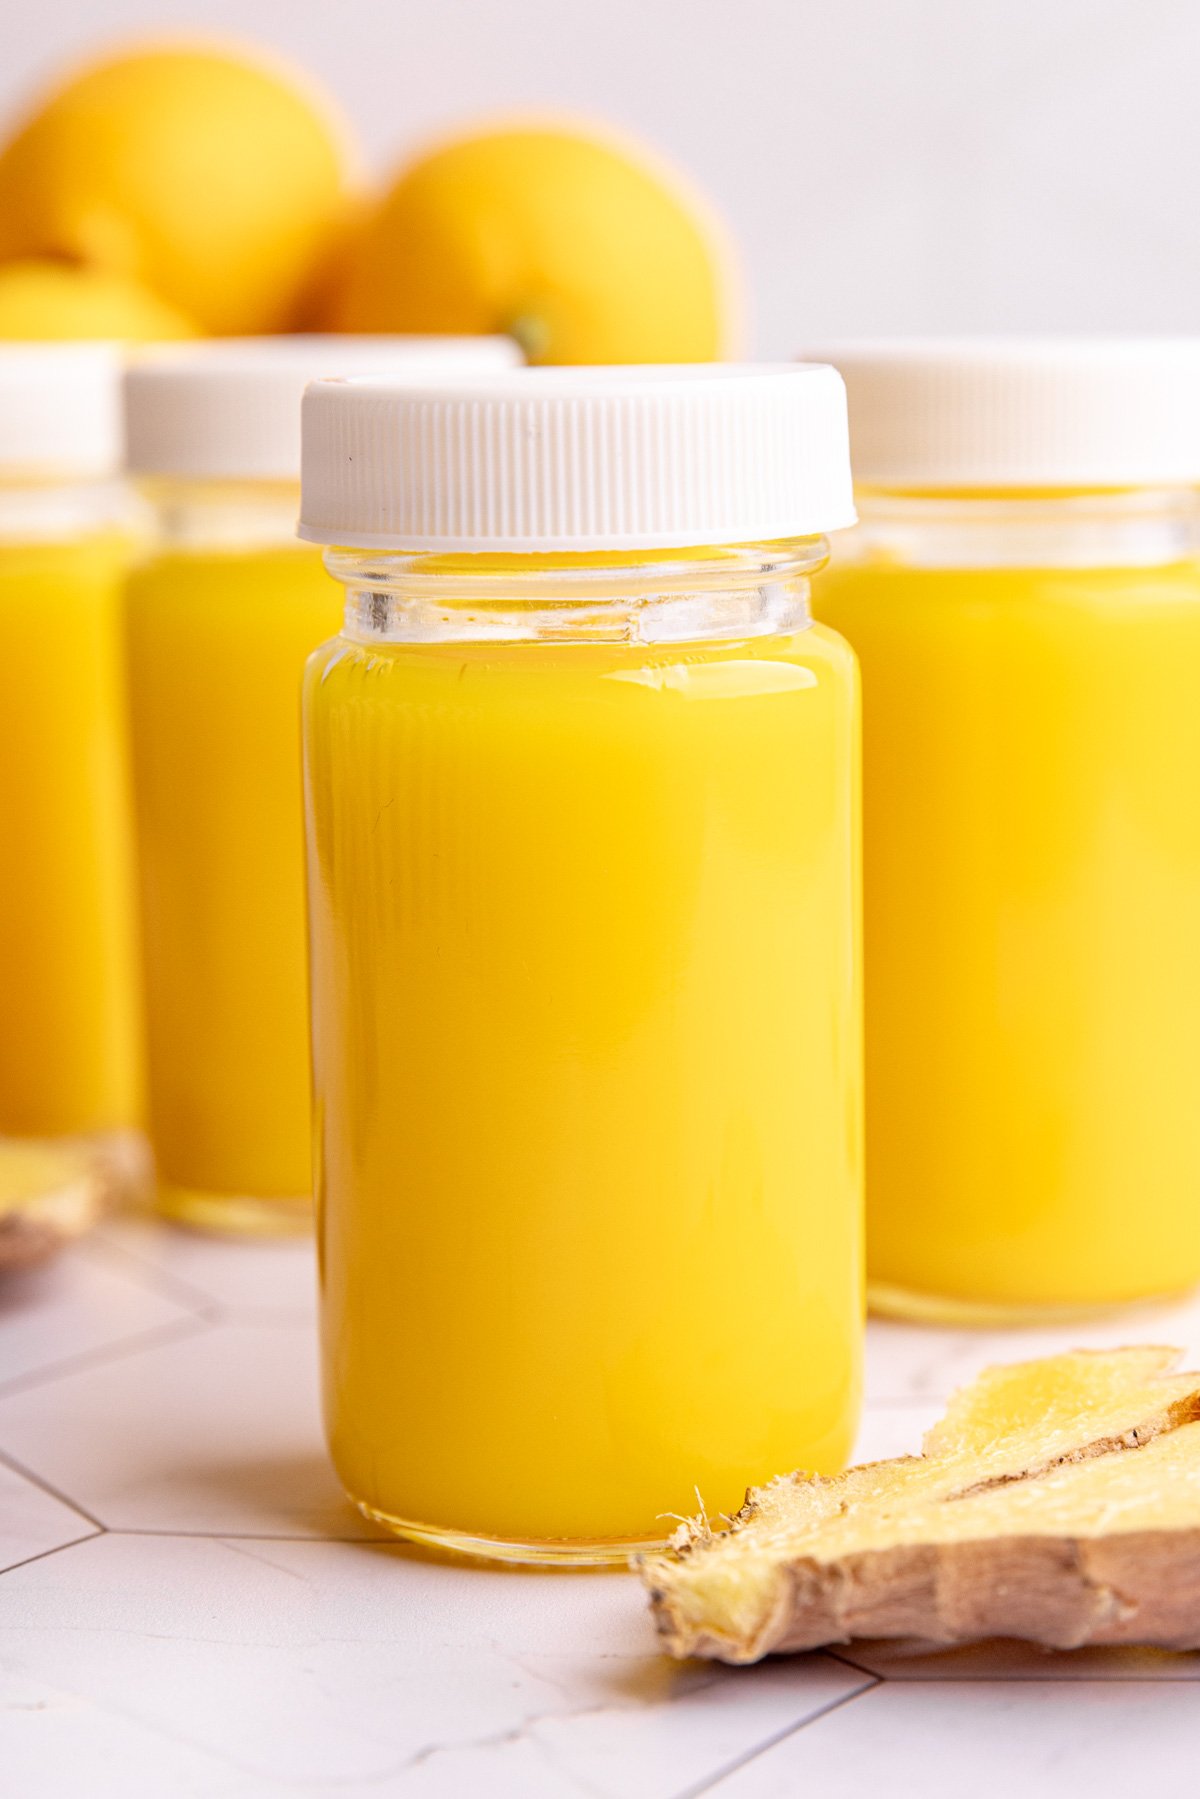
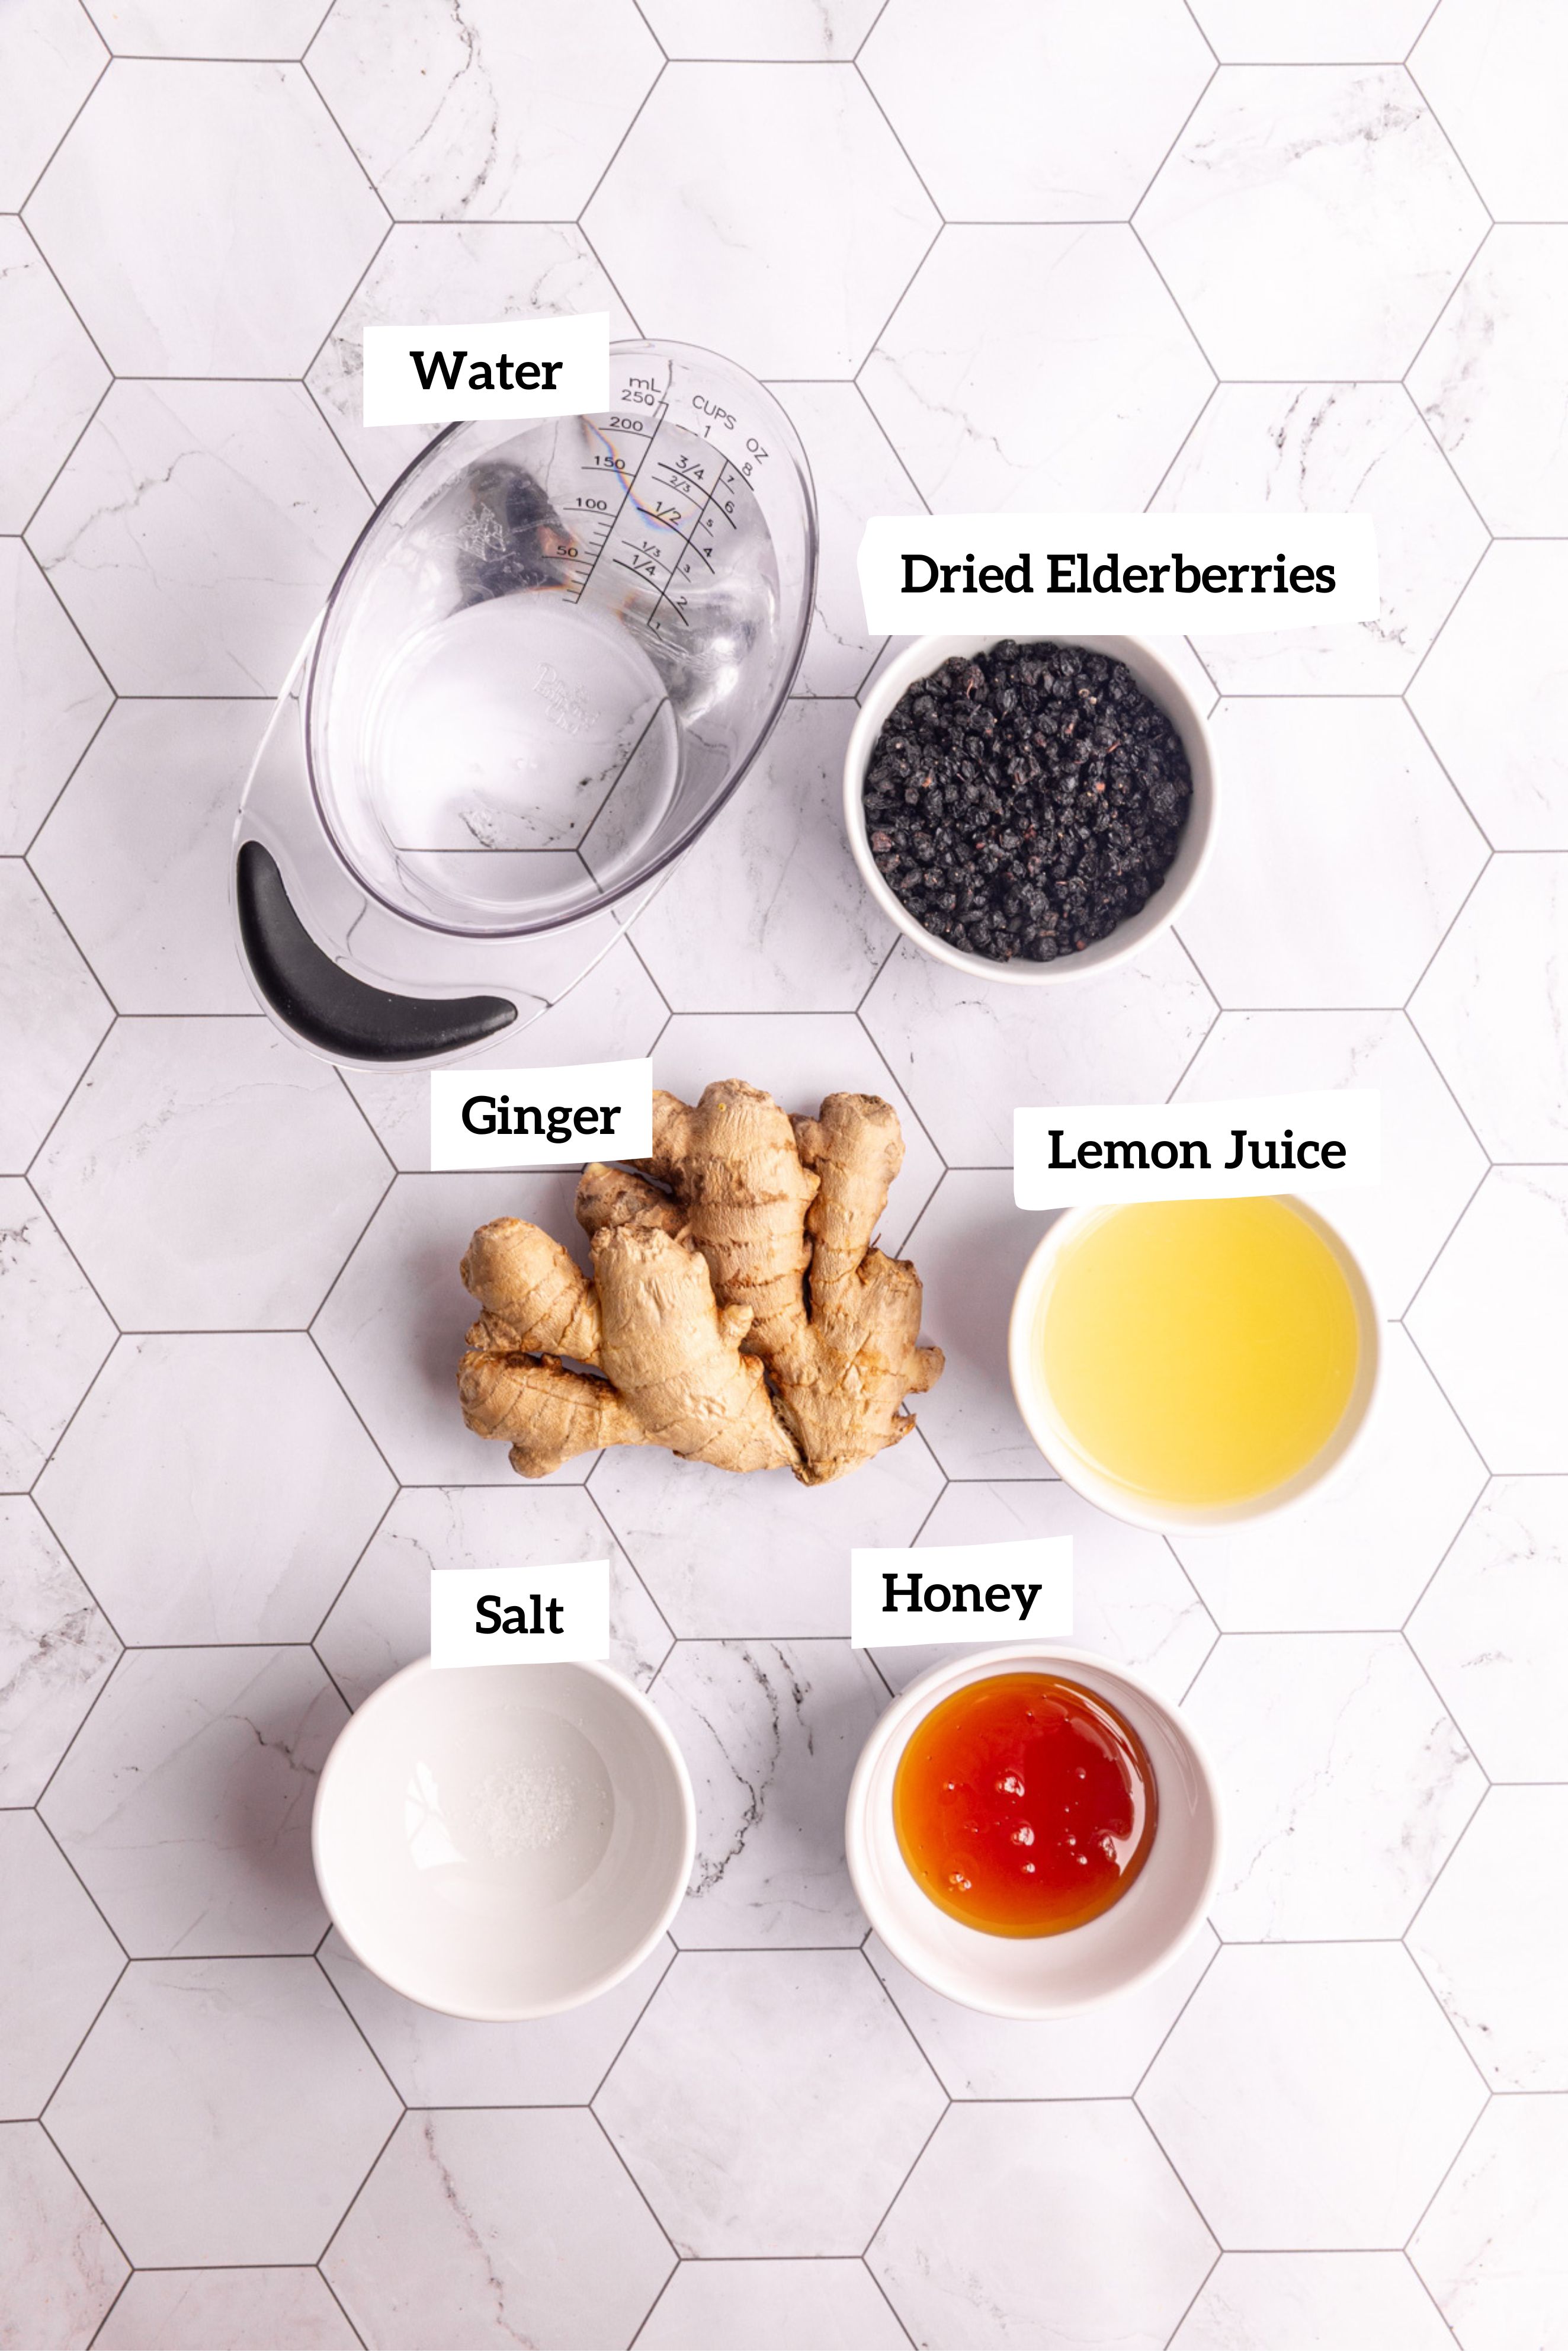
The main ingredients in these shots are ginger (ofc) and lemon juice. I also added honey or maple syrup for sweetness, and a pinch of salt for electrolytes.
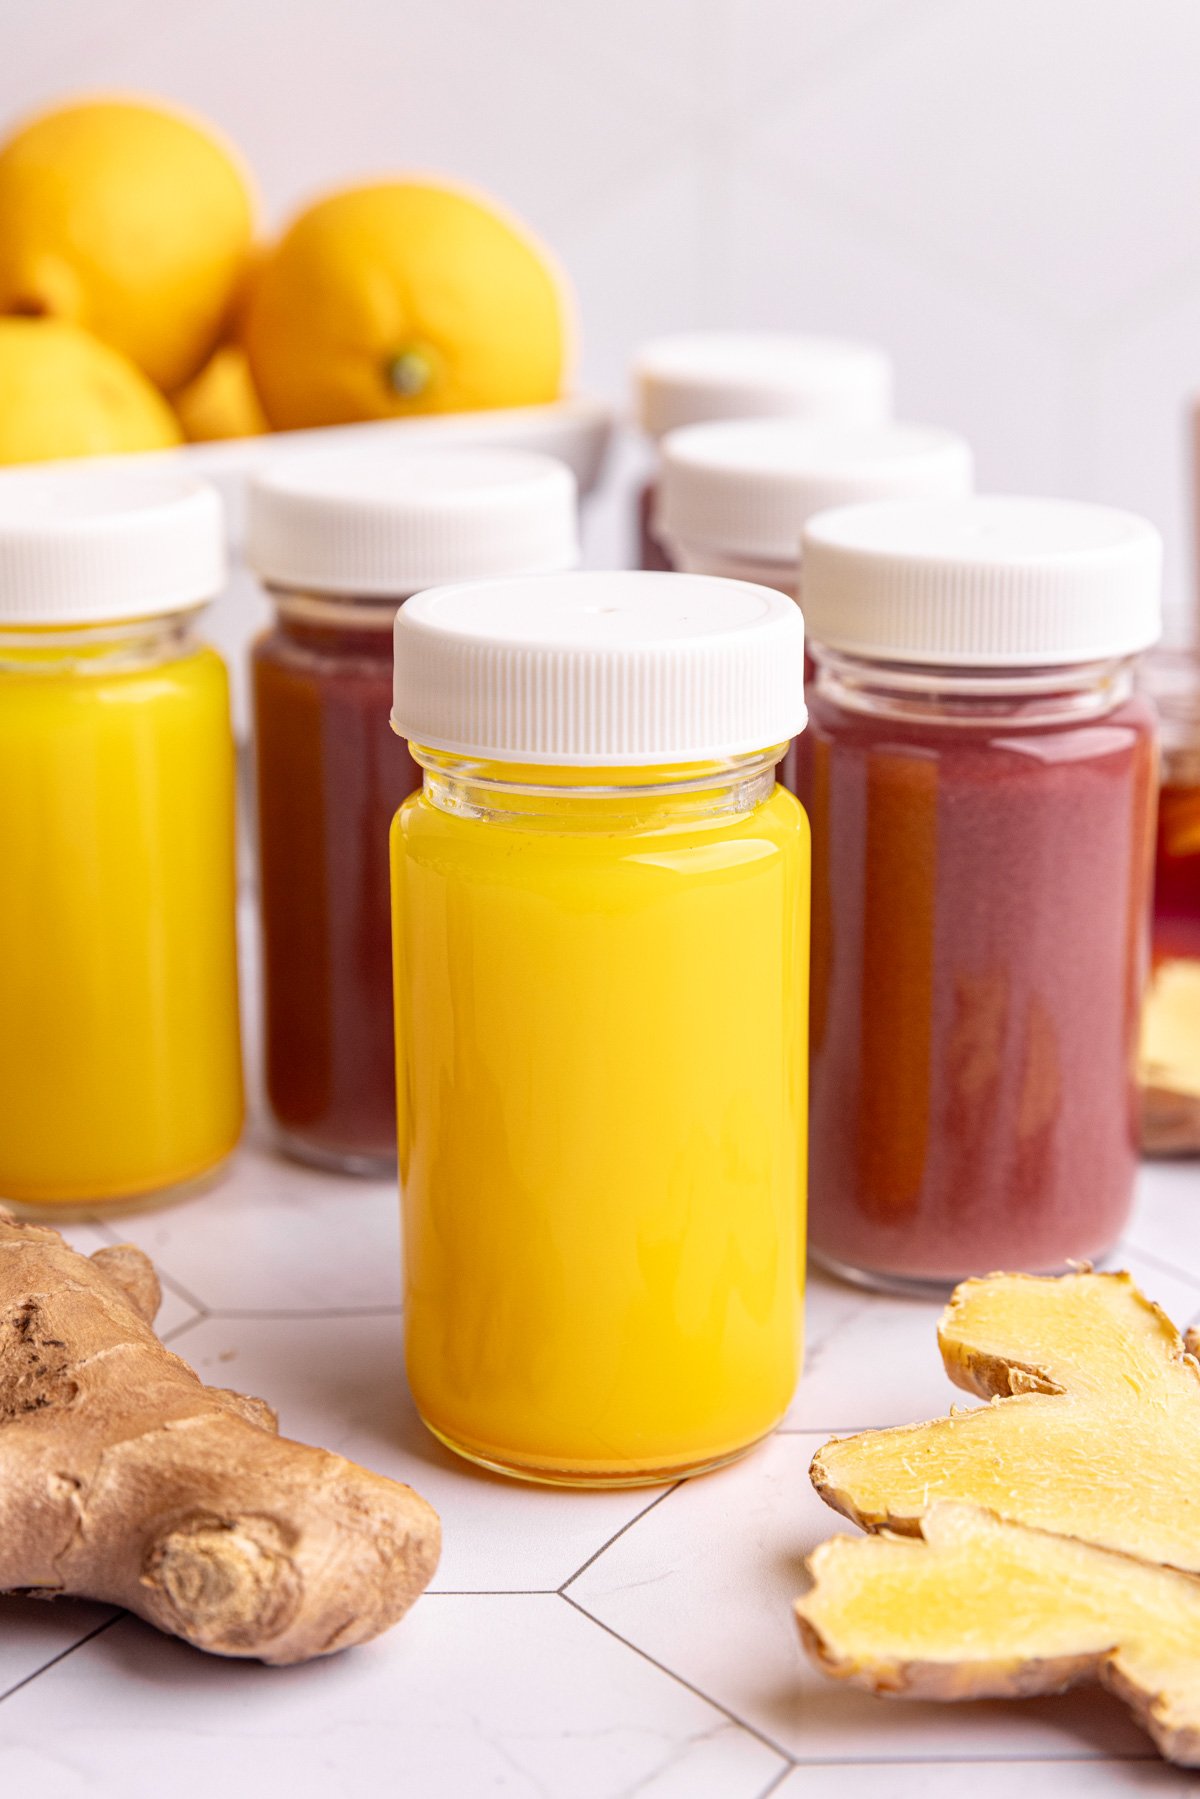
For the plain ginger version, I used water to blend. You can also use orange juice or your favorite juice - especially if you want a sweeter shot.
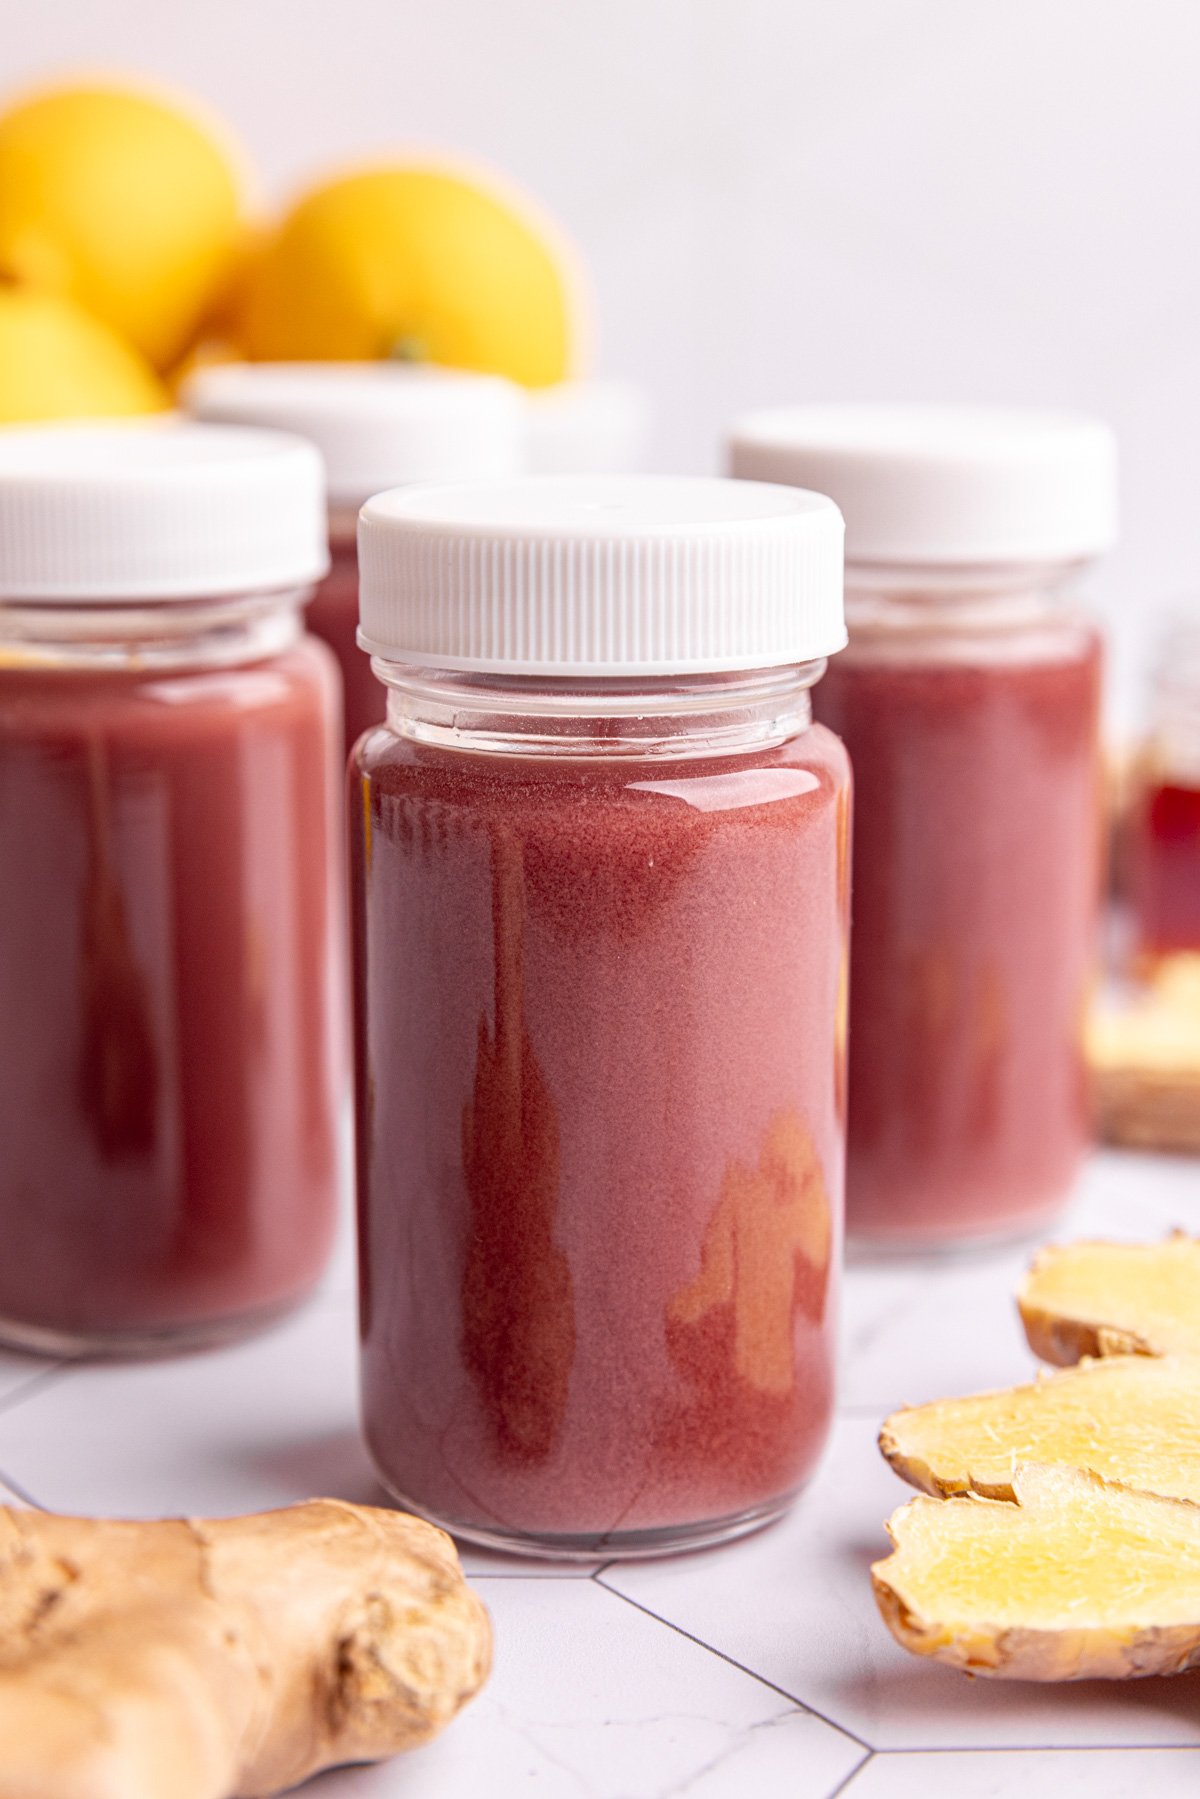
And for more of a cold & flu version, I made a strong elderberry tea and used it as the liquid in place of water.
Feel free to get creative! I'm dreaming up more fruity flavors already that I'm planning to share soon!
Jump to:
Why You'll Love These Homemade Ginger Shots
- Dietary needs - these shots are vegan, gluten-free, and refined sugar free!
- Customizable - Easy to add turmeric or elderberry. Feel free to add your favorite juice, other fruits - whatever flavor you want!
- Budget-Friendly - these homemade ginger shots are way cheaper than store bought
- Antioxidant rich & immune boosting - ginger is full of nutrients and antioxidants. It's great to take regularly, but especially helpful when sick.
- All the ginger benefits - helps with digestion & bloating, reduces inflammation and can help relieve pain, has antimicrobial and antioxidant properties, can lower cholesterol and blood sugar
Ingredient Notes & Substitutions
- Ginger: no need to peel! Simply wash and throw in the blender
- Turmeric: optional, for more antioxidants! If you use turmeric, add a pinch of black pepper for absorption. Also, beware that turmeric can stain surfaces, including your blender - to remove turmeric stains on your blender, let the cup sit in the sunlight for a day or two!
- Lemon Juice
- Salt: just a pinch for electrolytes
- Water: you can also use orange juice or your favorite fruit juice to flavor the shots. Feel free to add more water as needed - these shots are spicy! If you aren't used to ginger, I recommend doubling the water or using a sweeter liquid like orange juice.
- Honey or Maple Syrup: optional, but nice to help balance out the bite of ginger

Elderberry Variation
- Water: we'll make the elderberry tea with water, then add additional water to replace some of the lost water from boiling
- Dried Elderberries: elderberries have antioxidants and vitamins and are often used to boost immune function and reduce the severity of cold and flu symptoms. They are not often available fresh, but you can find them dried and make a 'tea' to blend into your shots.
- Ginger
- Lemon Juice
- Salt
- Honey or Maple Syrup
Pro Tip: If you aren't used to taking ginger, I highly recommend diluting the shots with water, using fruit juice, or adding more honey.
Step-By-Step Instructions
Step 1. If making the elderberry version, start by making elderberry 'tea'. Place the elderberries and 1 cup water in a small saucepan. Bring to a boil and let simmer 5 minutes. Strain.
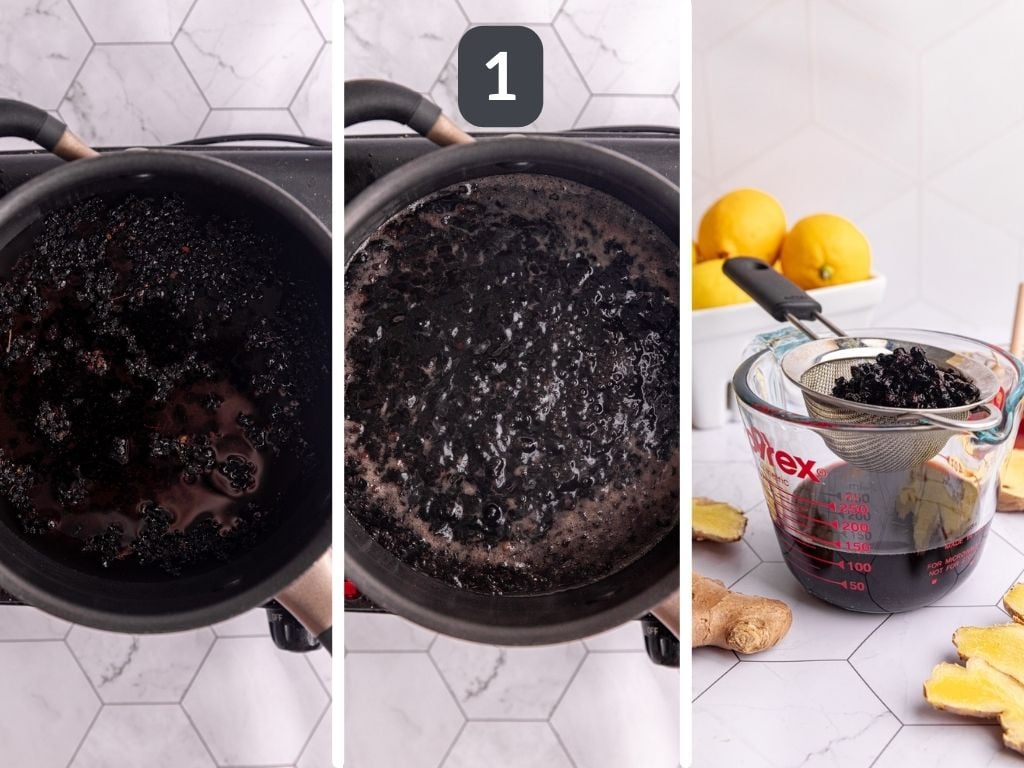
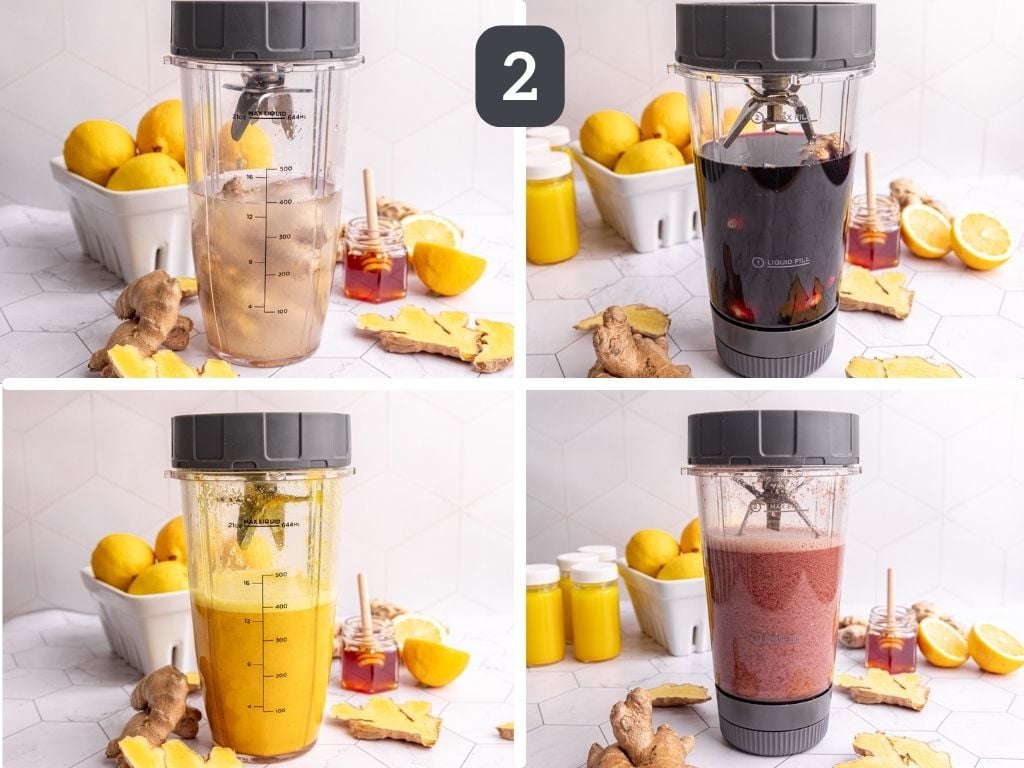
Step 2. For ginger shots add water or for elderberry shots add the elderberry tea + ½ cup additional water, and the remaining ingredients to a high speed blender. Blend on high for 1 minute.
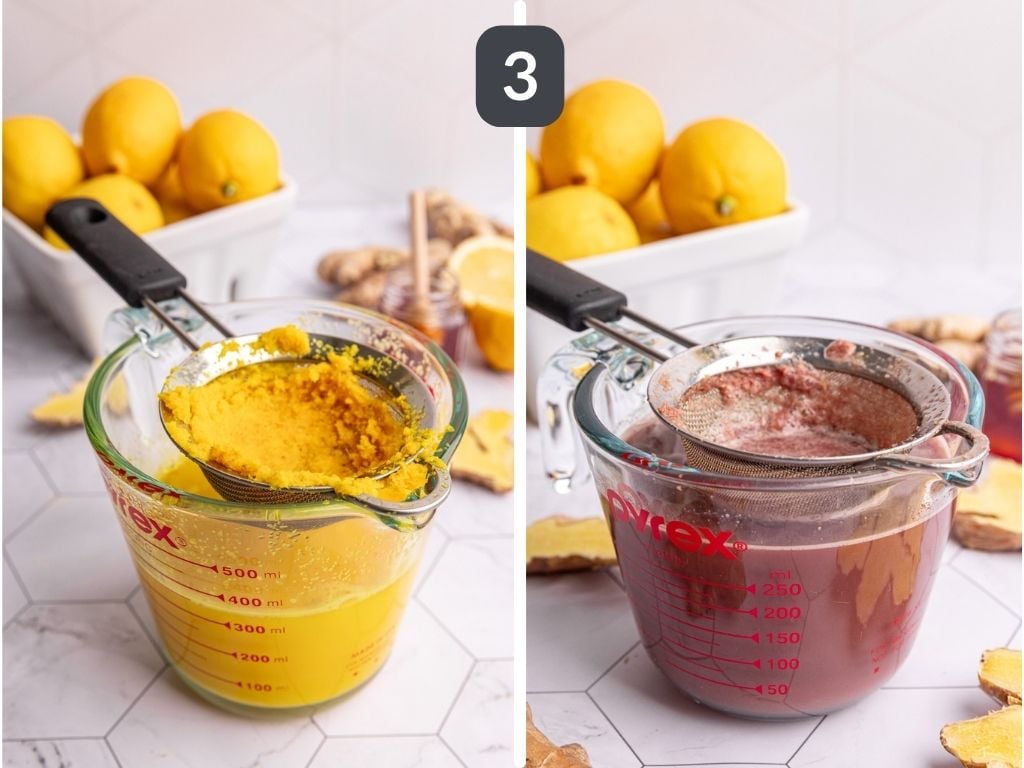
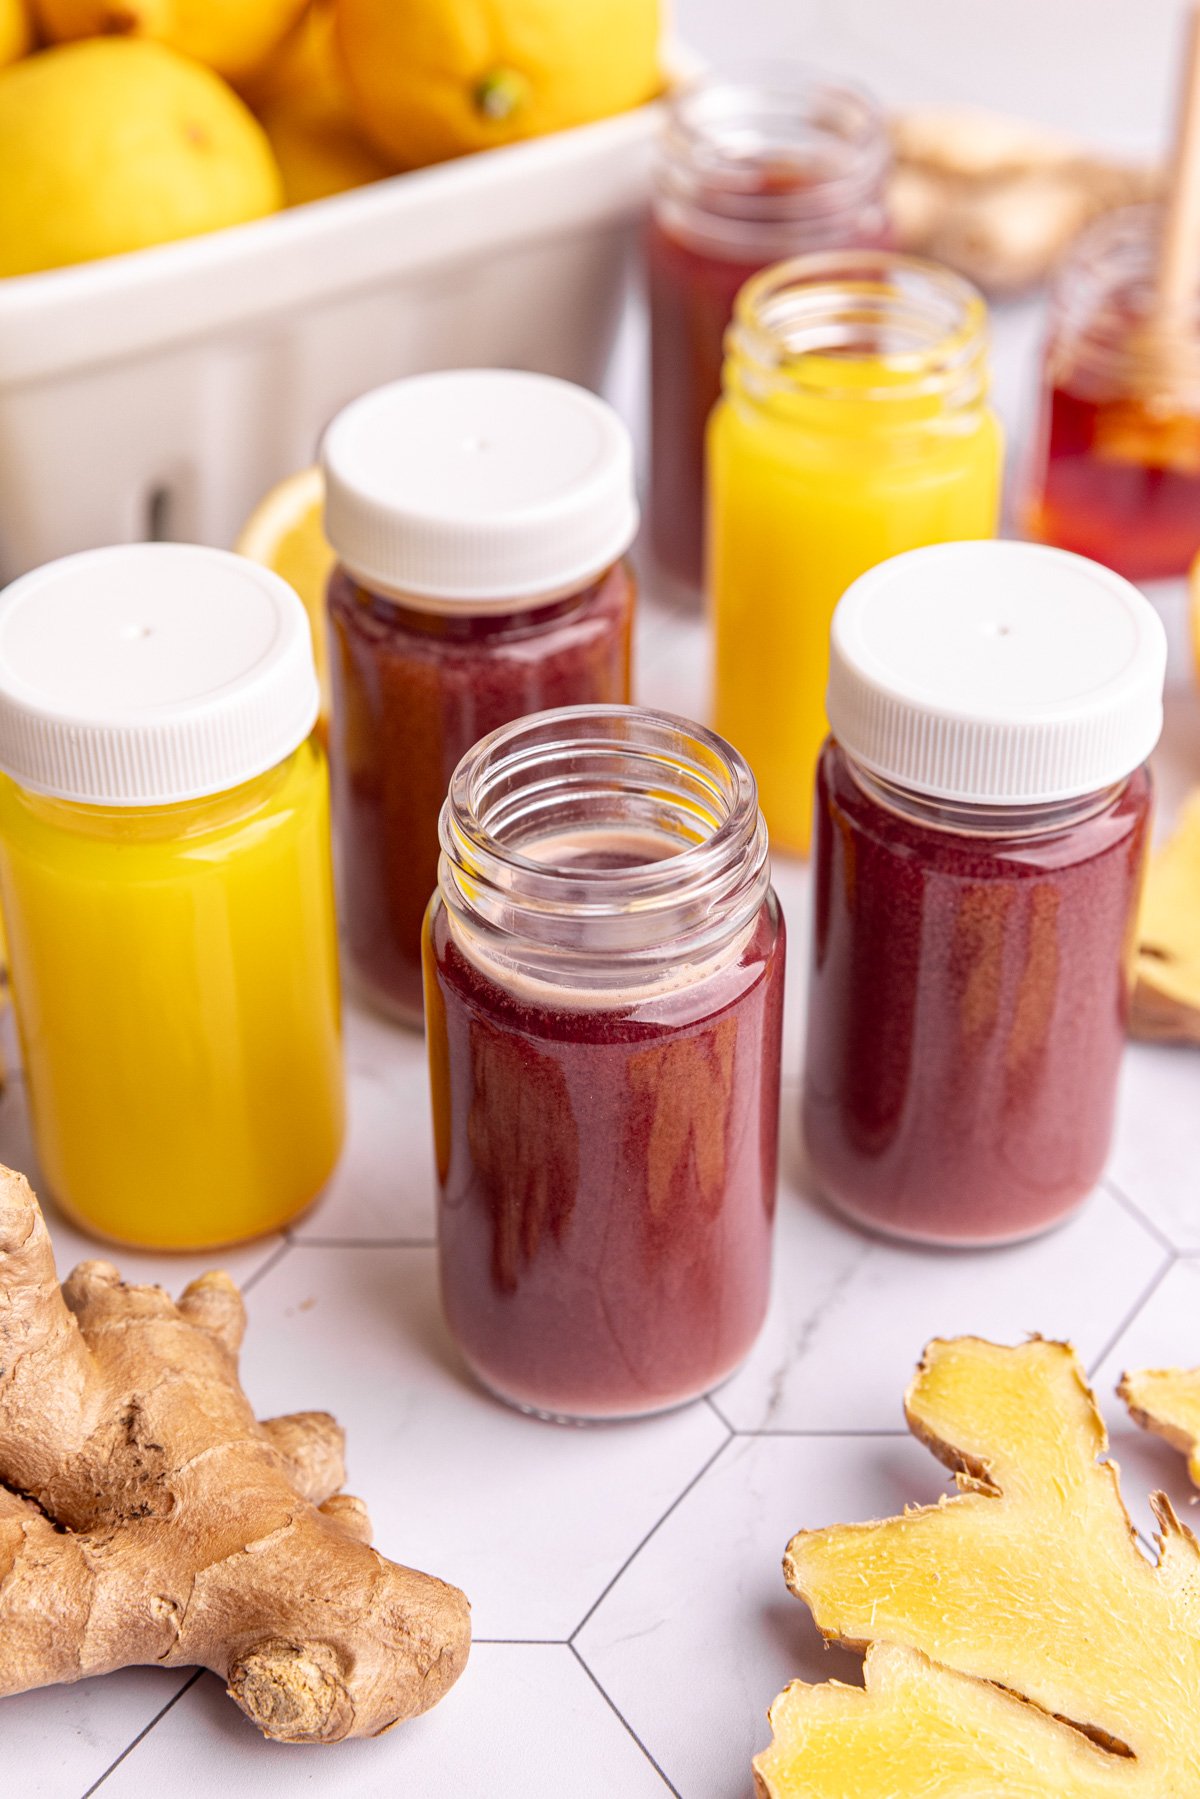
Step 3. Strain through a fine mesh strainer. Transfer to a mason jar or small juice glasses. Use within 7 days.
Pro Tip: grab some little shot glasses to portion out your drinks for the week.
FAQ & Expert Tips
These shots are SPICY. If you aren't used to taking ginger shots, I highly recommend diluting the shots with water, using fruit juice, adding more honey, or a combo of all three. Taste the shot after blending/straining and feel free to stir in more liquid before portioning out.
They keep well in a sealed container in the refrigerator for up to a week.
Yep! Feel free to freeze in an ice cube tray or other silicone tray and thaw as desired.
Store in the fridge! I love these little shot glasses for individual portions. But a mason jar works perfectly too.
Recipe Prayer
Thank you God for these ginger shots. Keep us well and healthy. Amen.
Related Recipes
Tried this recipe?
Please leave a review in the comments section below. You can also stay in touch with me on social media by following me on Instagram, Pinterest, and TikTok or by subscribing to my newsletter.
📖 Recipe
Homemade Ginger Shots
Equipment
- Small Juice Glasses optional
Ingredients
- 3 Ounces Ginger washed
- 1 Ounce Turmeric washed, optional
- Juice of 2 Lemons
- Pinch Salt
- 1 Cup Water
- 1 Tablespoon Honey or Maple Syrup
Elderberry Variation
- 1 ½ Cups Water divided
- ¼ Cup Dried Elderberries
- 3 Ounces Ginger washed
- Juice of 2 Lemons
- Pinch Salt
- 1 Tablespoon Honey or Maple Syrup optional
Instructions
- If making the elderberry version, start by making elderberry 'tea'. Place the elderberries and 1 cup water in a small saucepan. Bring to a boil and let simmer 5 minutes. Strain.
- For ginger shots add water or for elderberry shots add the elderberry tea + ½ cup additional water, and the remaining ingredients to a high speed blender. Blend on high for 1 minute.
- Strain through a fine mesh strainer. Transfer to a mason jar or small juice glasses. Use within 7 days.
Notes
Nutrition
Nutrition information is an estimate.
GS Paul
I'm very excited about making the ginger shots since I buy them - and love them - and would love a home version. The ingredients say ginger 'washed.' Does that mean washing the skin and using it? I usually scrape it off. Thanks.
Elizabeth
Hi, yes! I often scrape off the skin for other recipes, but since you'll end up straining out any of the pulp, it's not really necessary to remove the skin. It just saves a bit of time, but you can always remove it if you prefer!